Azure VM & Apache Setup (Beginner Cloud Project)
Connect to the VM using SSH. Install Apache2 on the VM.

Introduction
In this project, I deployed a Linux Virtual Machine on Microsoft Azure, connected to it using SSH, installed Apache2, and verified the setup by accessing the server through a web browser.
Step 1:
Creating Virtual Machine
Go to Azure Portal
Sign in with your account
In this blog we are going straight to creating a virtual machine (VM).
If you want to learn how to create Resource Group, click on this link
: https://ventandsubnet.hashnode.dev
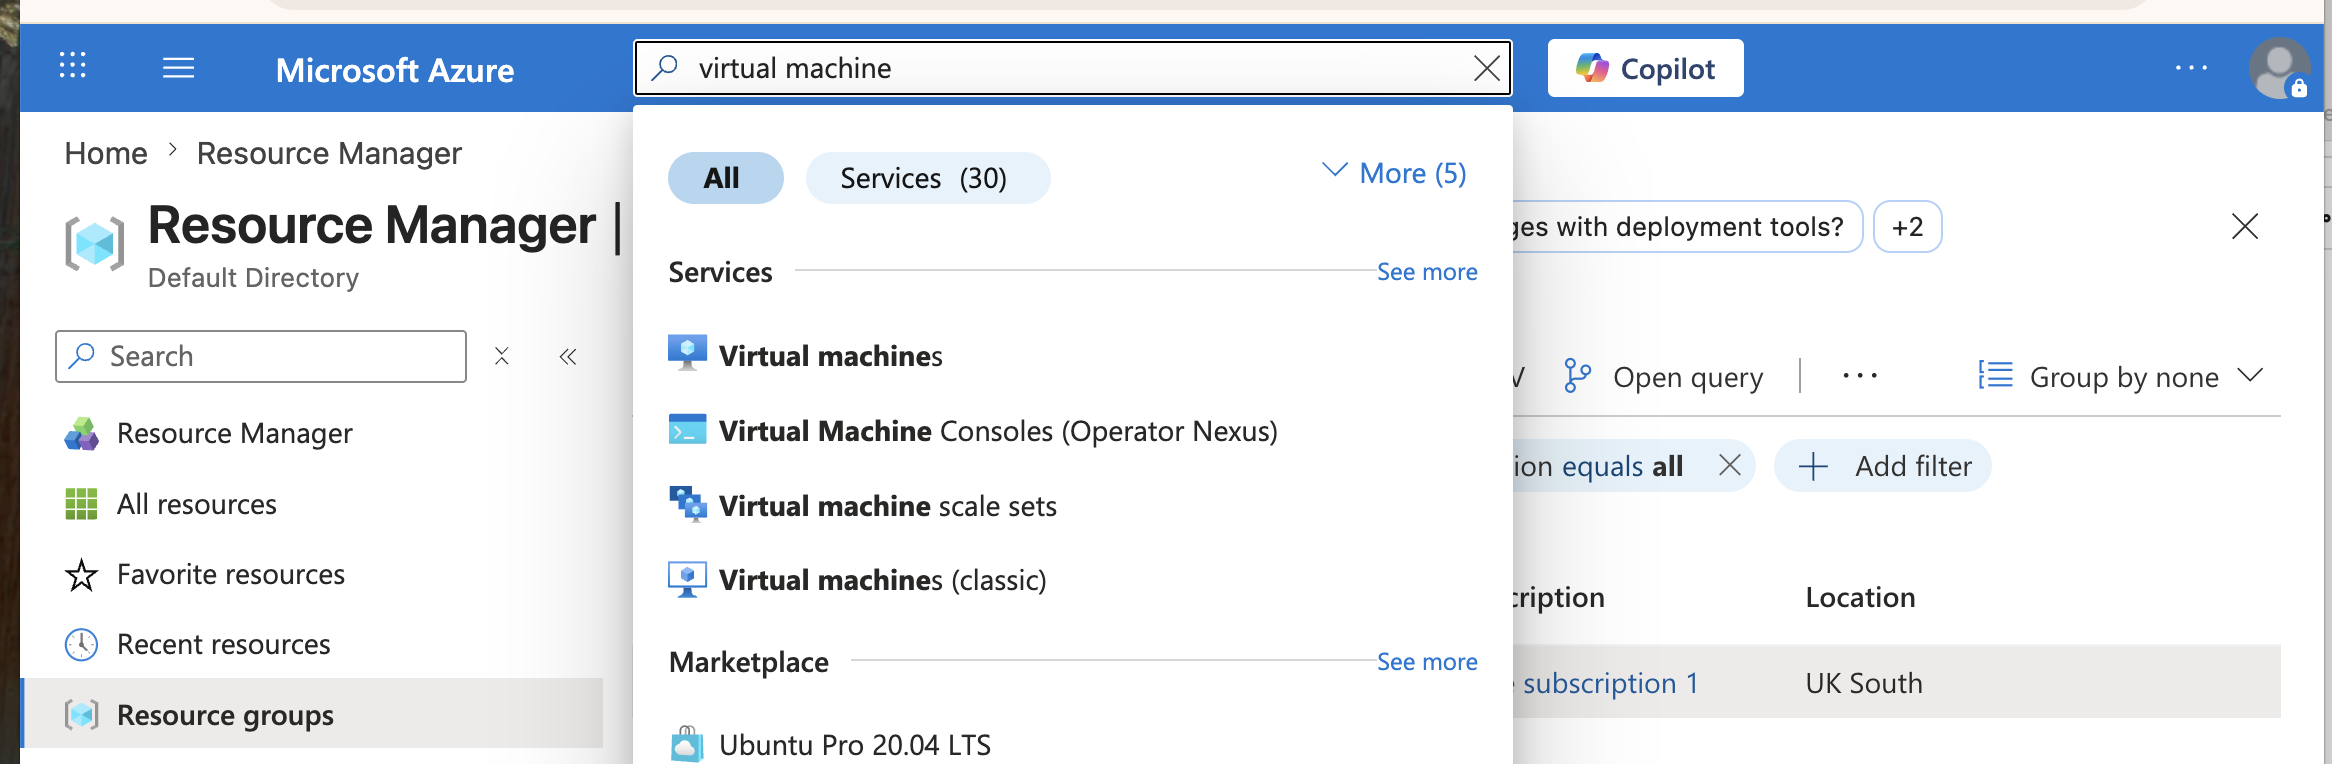
Search for Virtual Machine in the search browser created
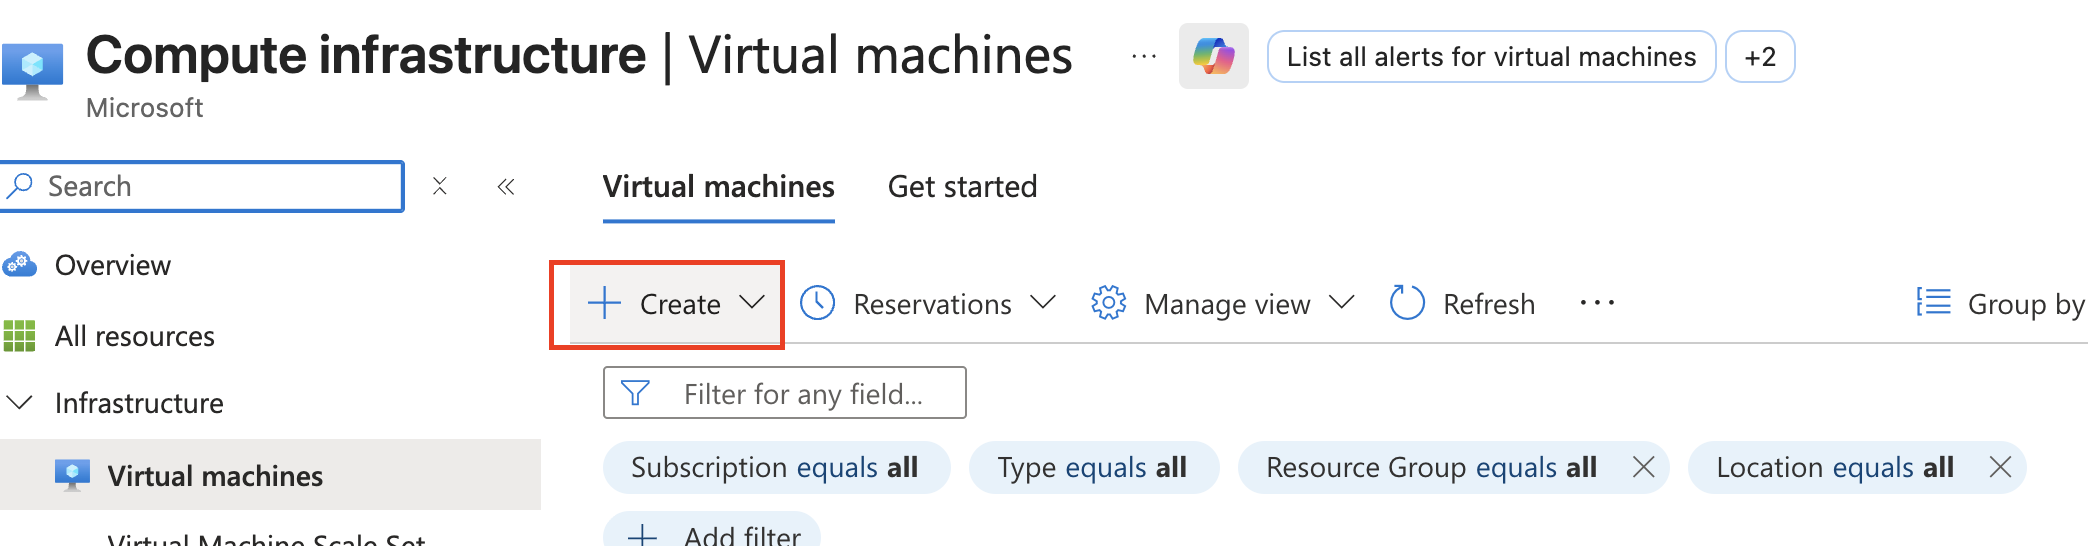
Click on create and start creating
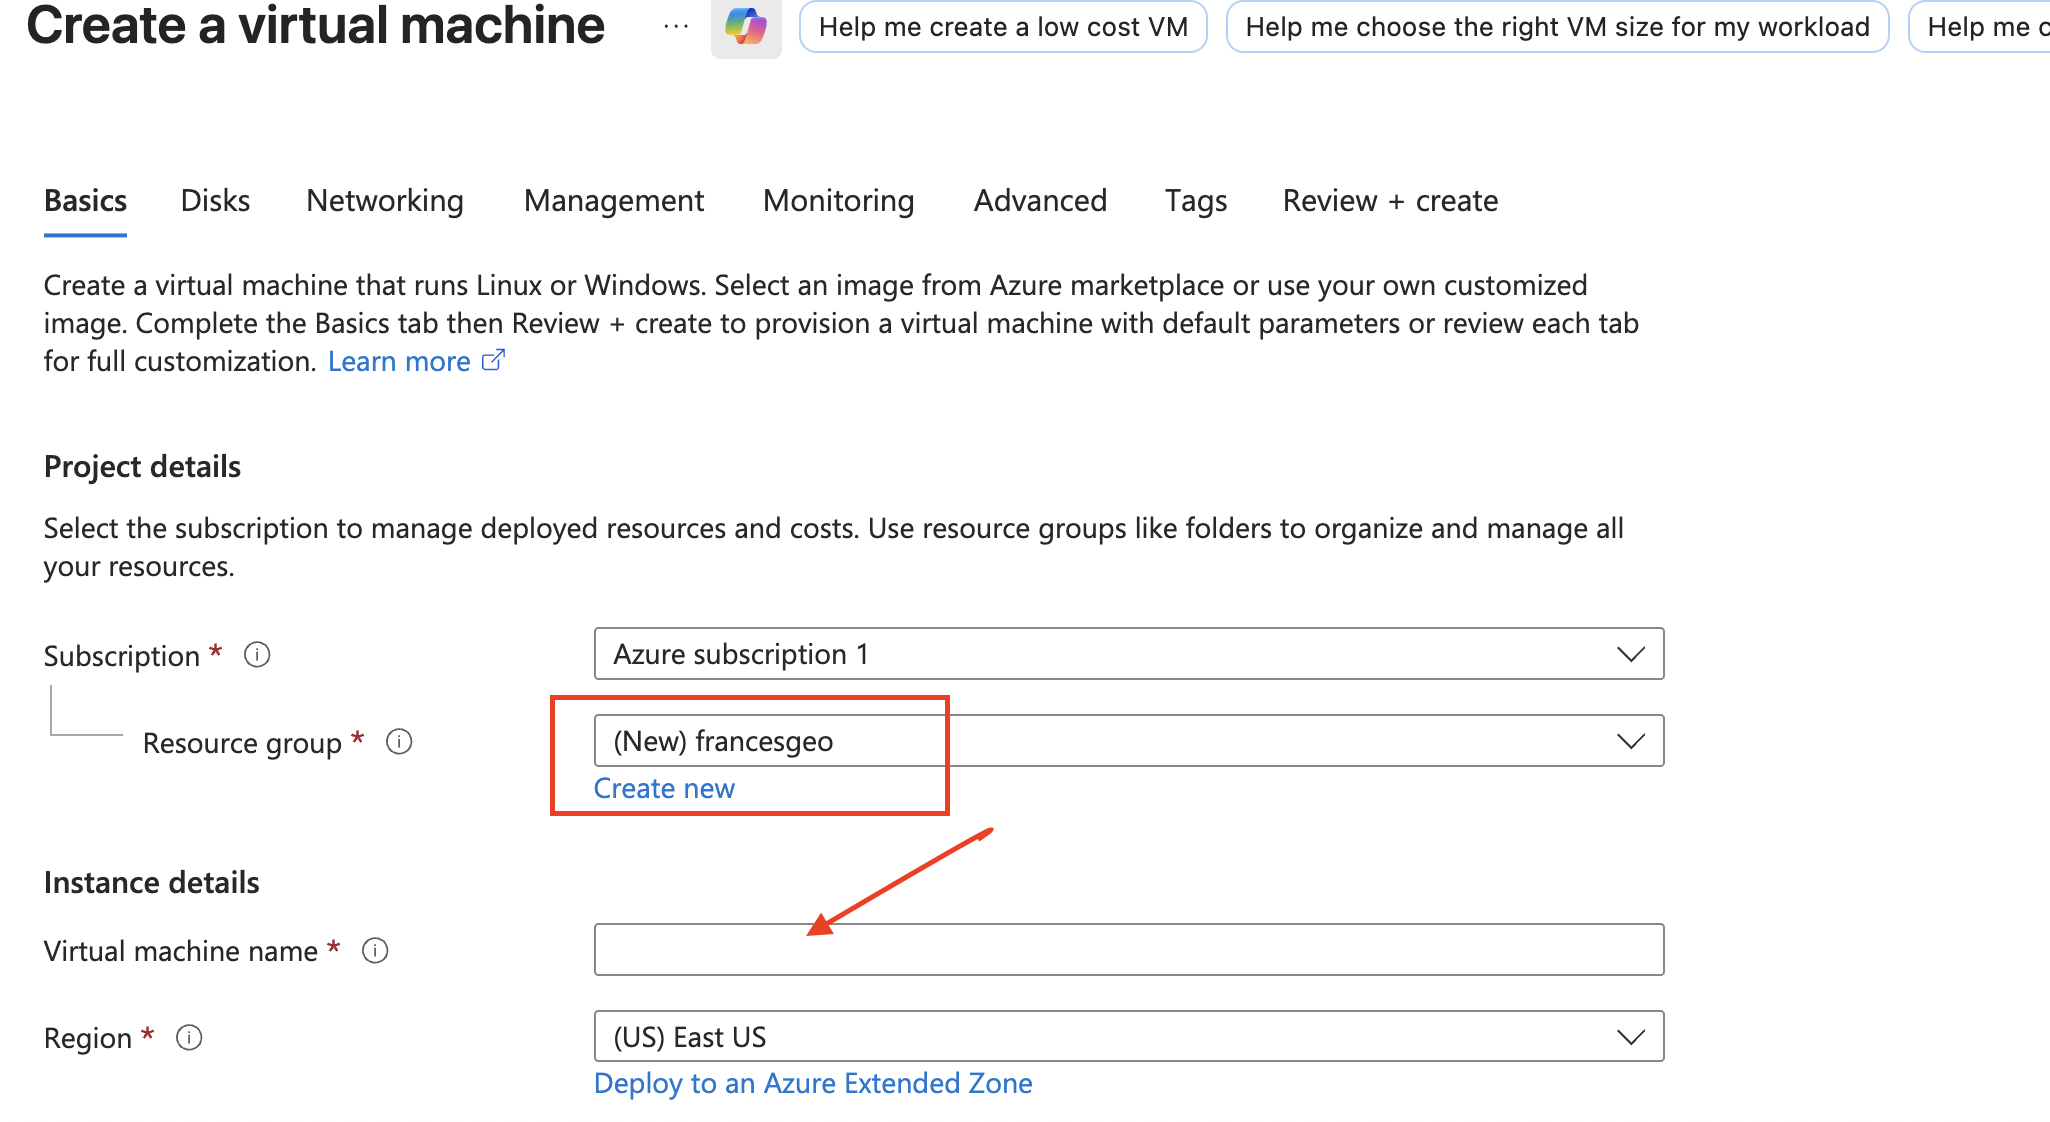
Create resource group and name the VM. You can change your zone if you want to.
Choose the Availability Options , the security type and Image from the options
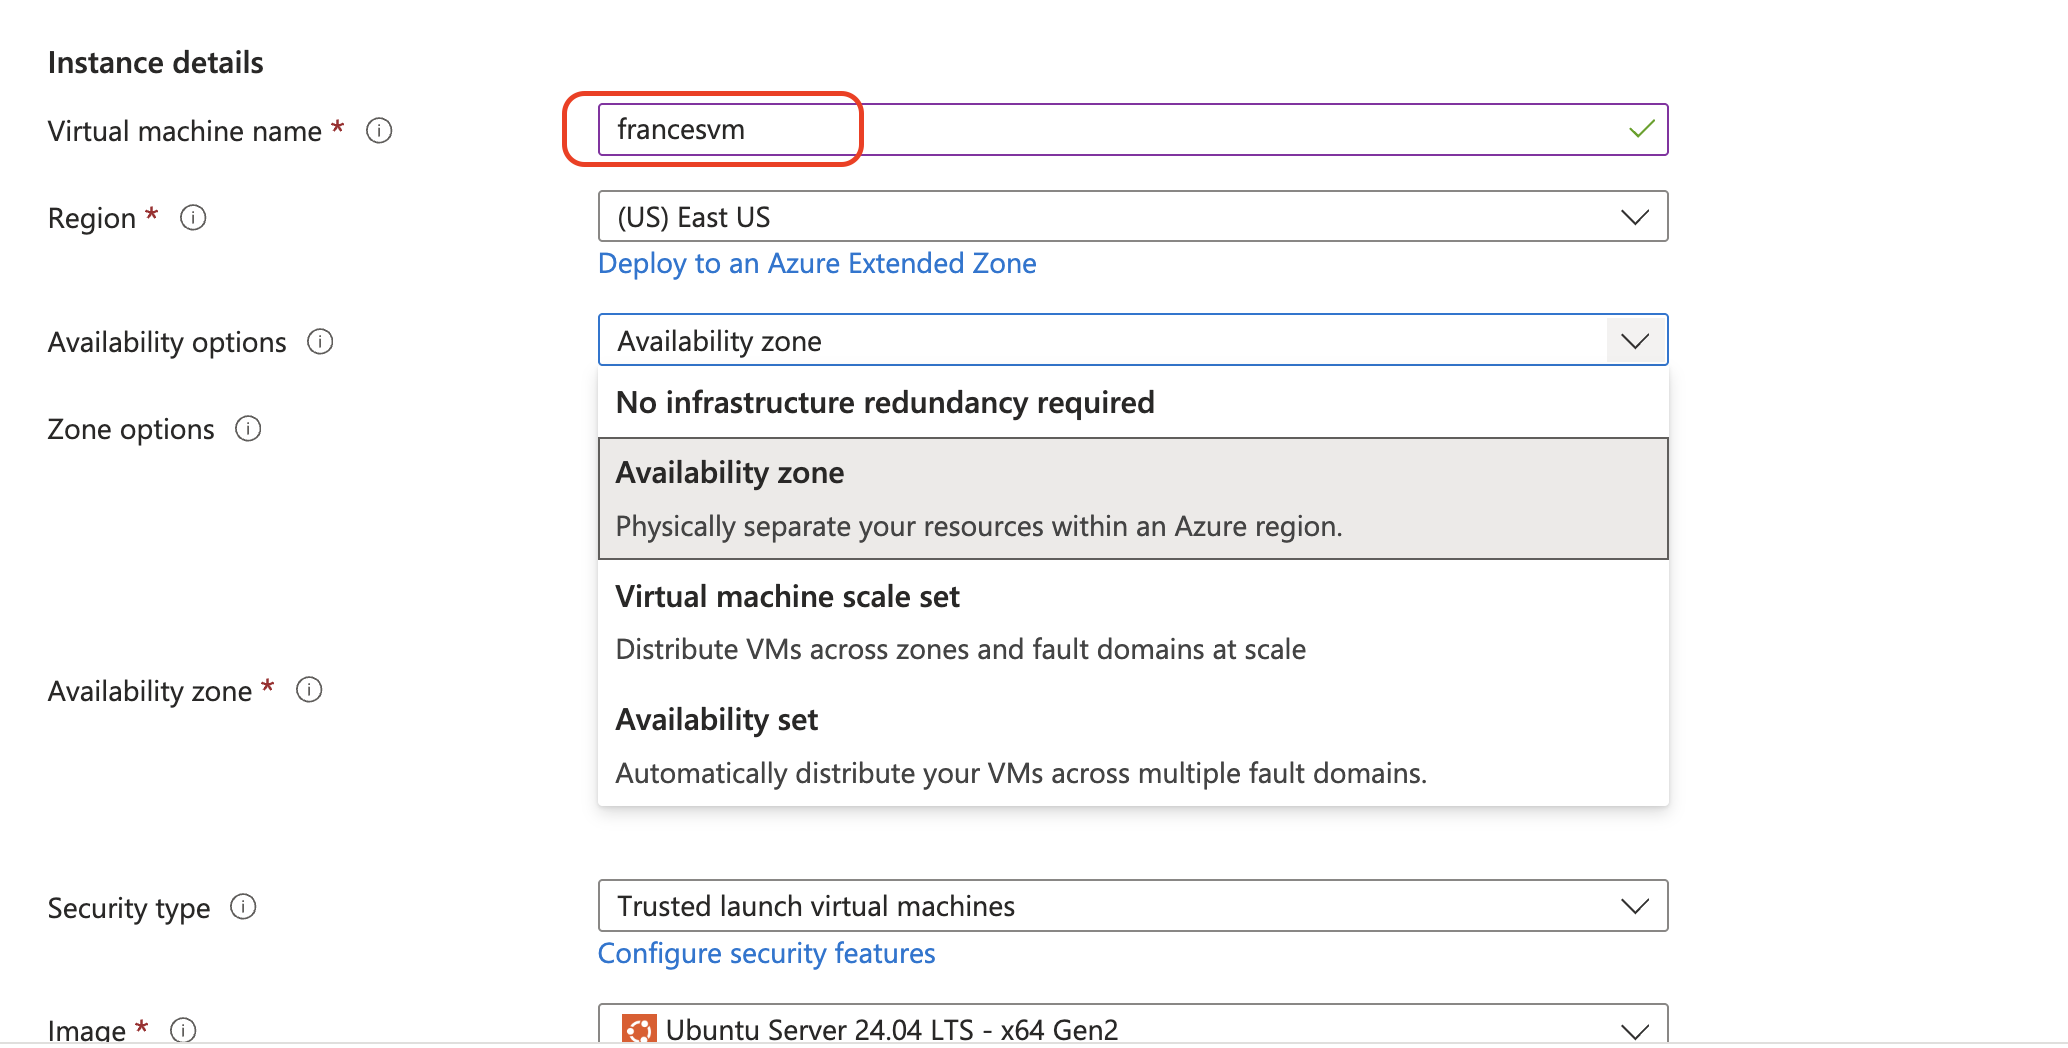
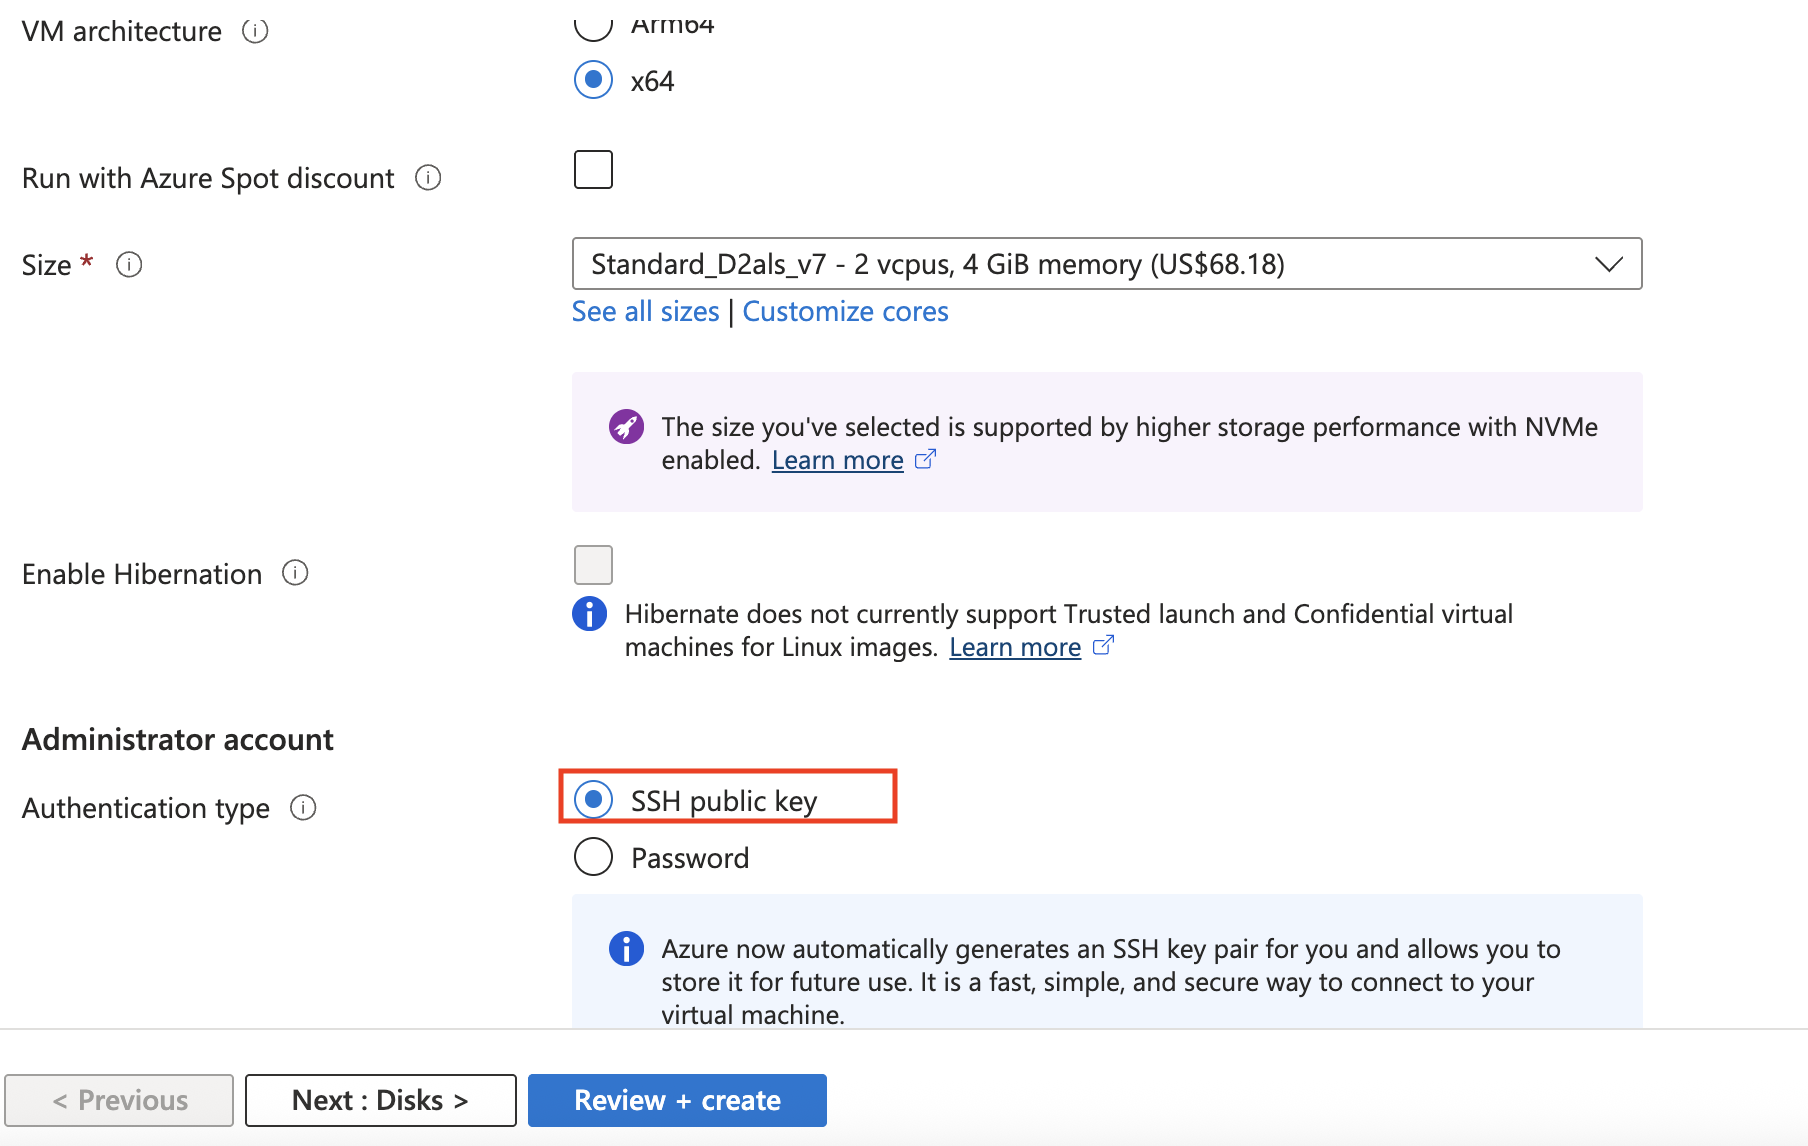
Note: It is very important to avoid choosing a large size of VM. Delete the VM from the resource group immediately to avoid incurring cost.
To authenticate or secure your account you need to choose SSH public key. Password can be chosen but choosing ssh is recommended
Ceate username
Choose the a key pair name by default or create another one.
For Public inbound ports -choose allow selected ports in order to SSH or access into your VM
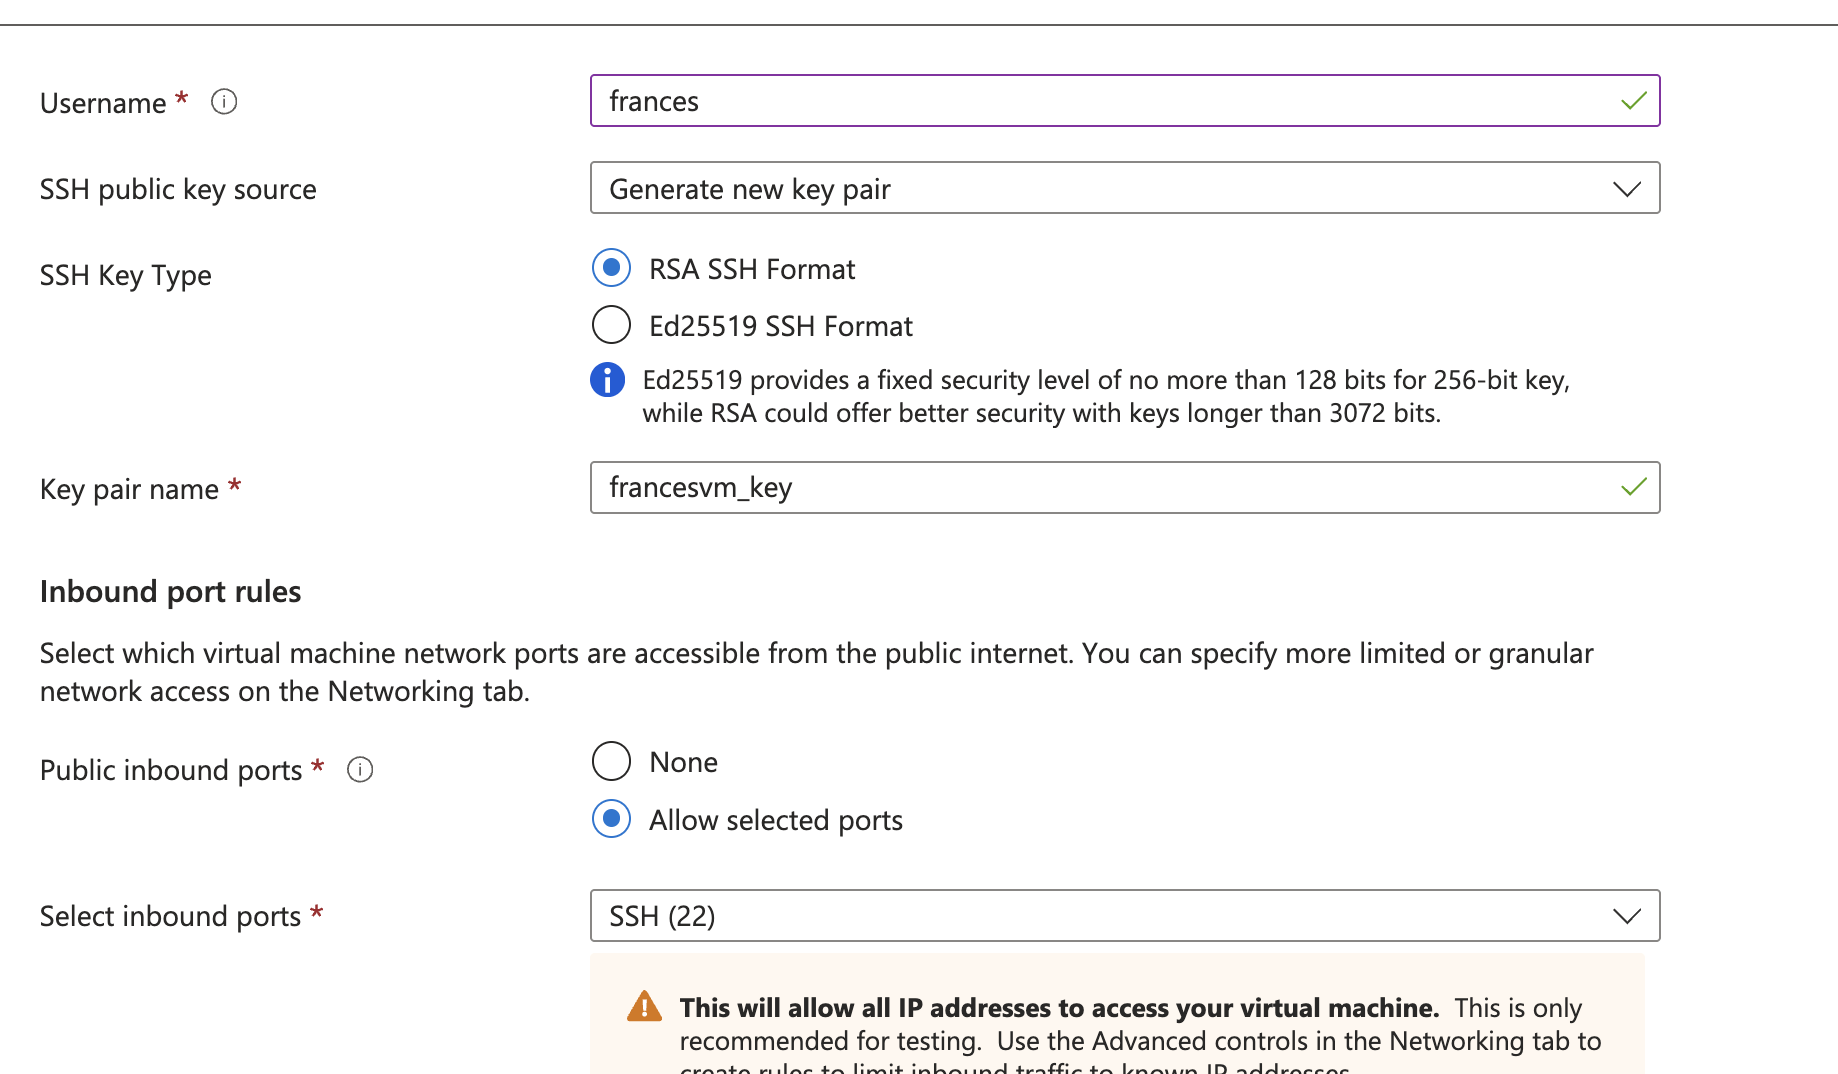
choosing ssh port 22 exposes your server to hackers but in this case, this is for demo.

Click on next : Disks
Select the OS (Operating system) disk
Choose from the disk size and type, and key management options.
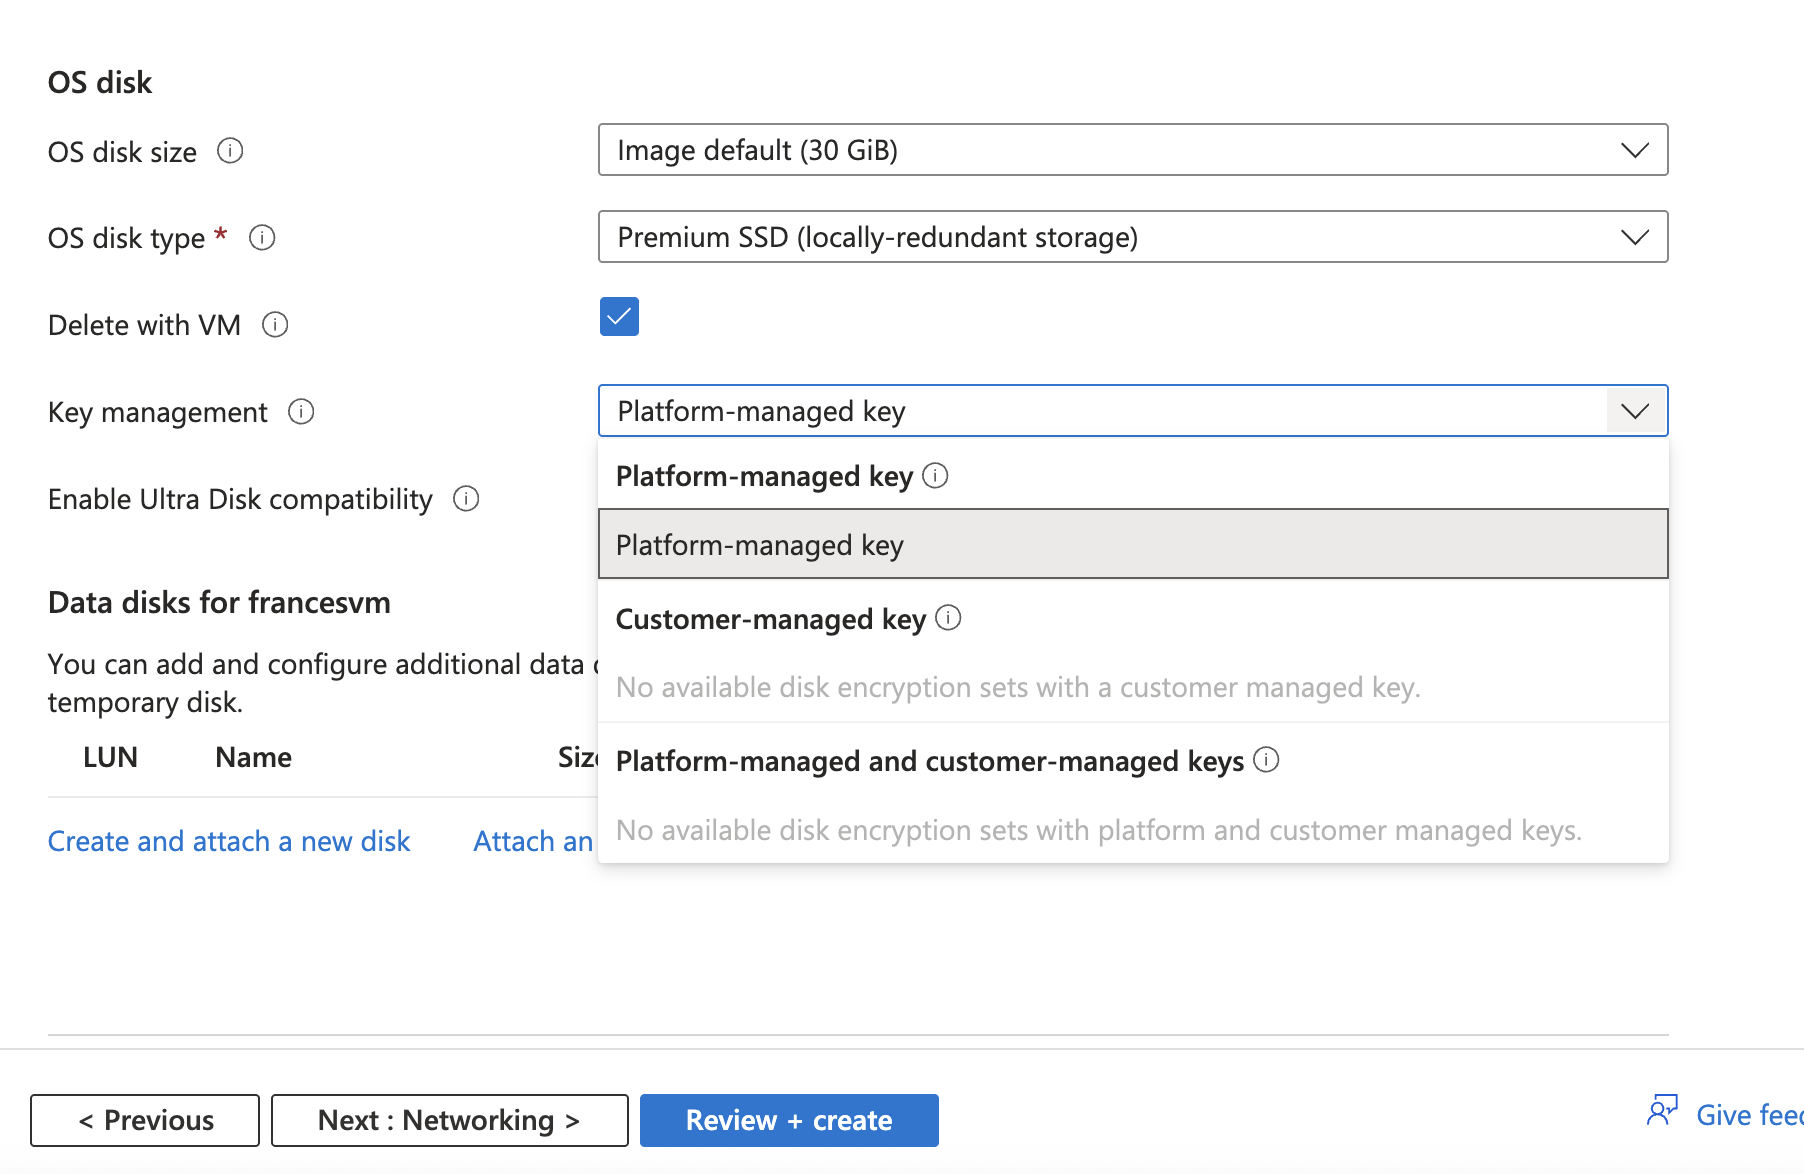
Click on Next:Networking
Network interface displays the Vnet and subnet deployed by default. you can create new ones.
Public IP: you can create a new one or choose the one generated by default by azure
if you do not want the public to gain access, choose none on the drop button
Leave the rest the way they are
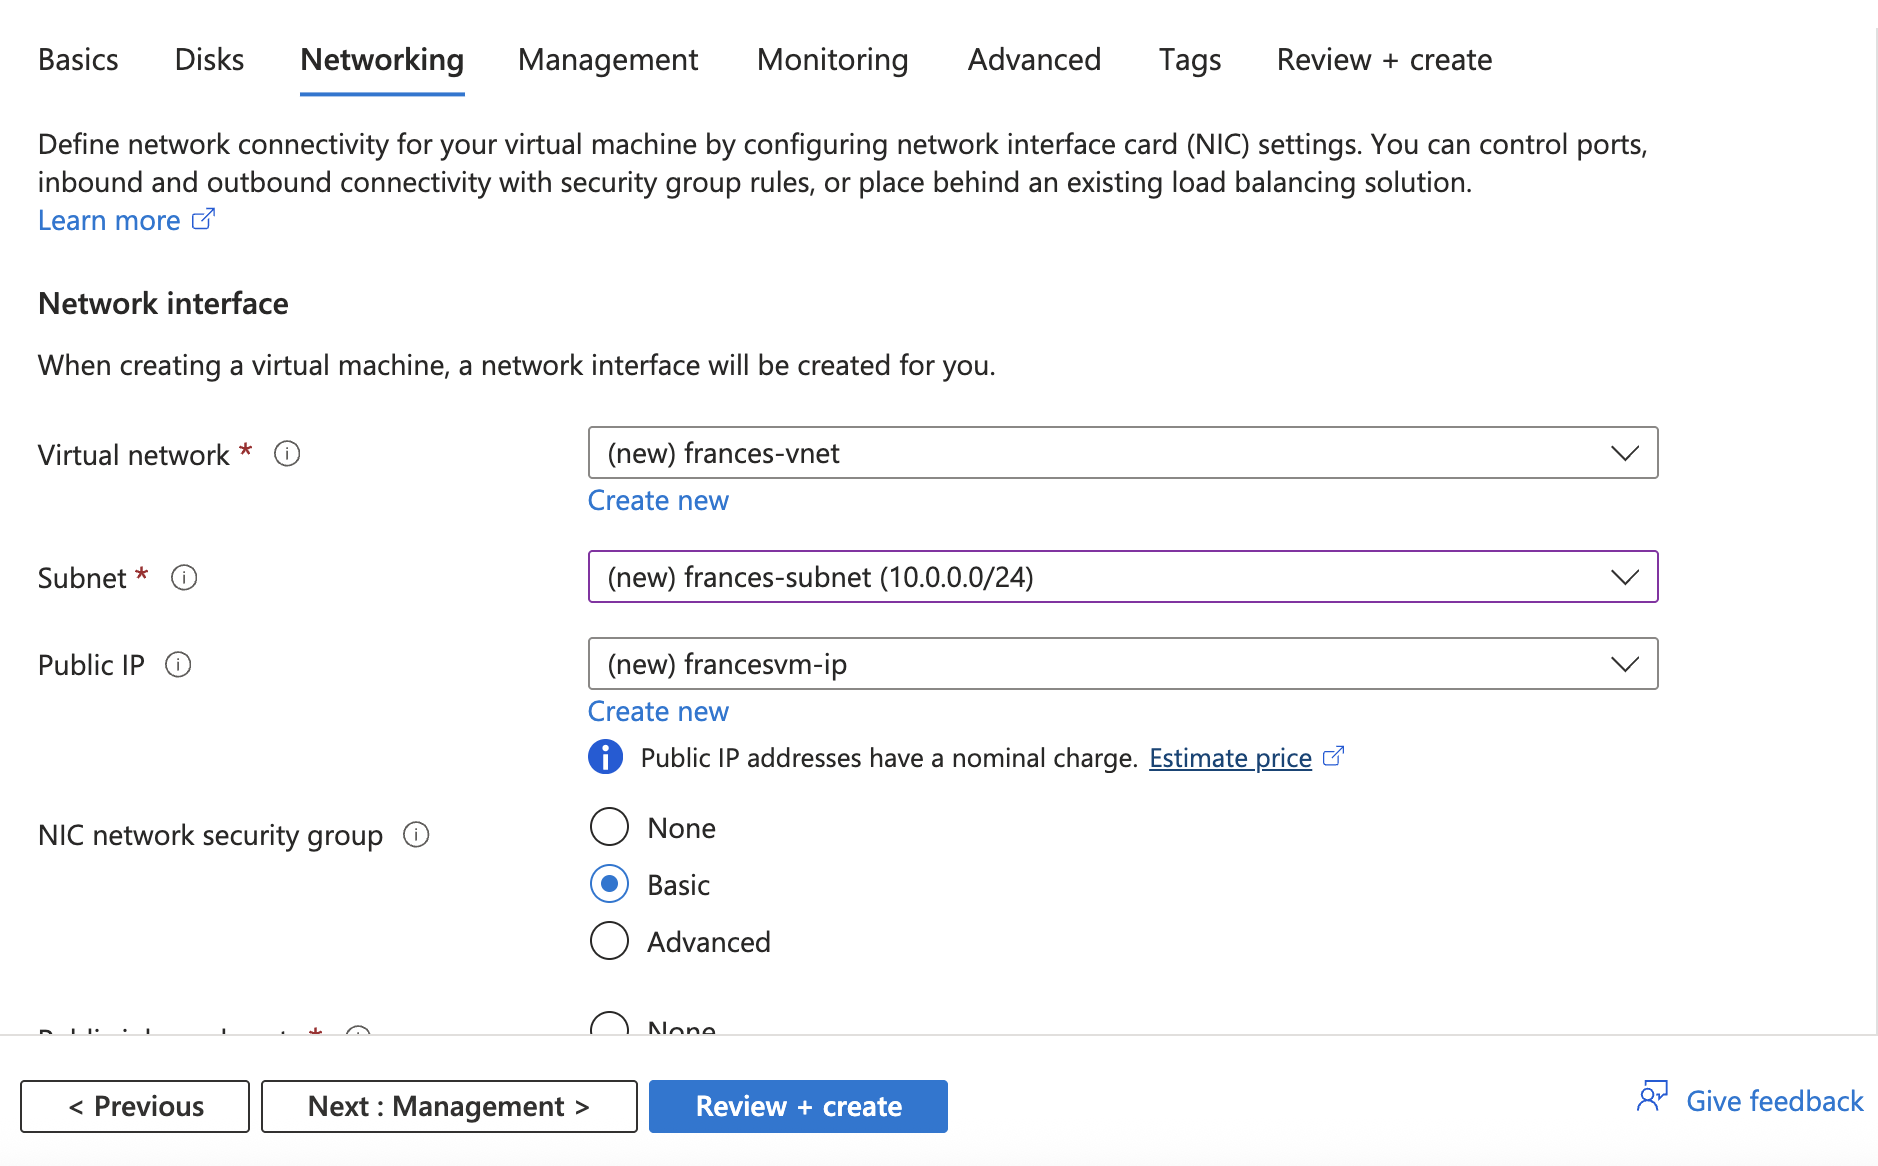
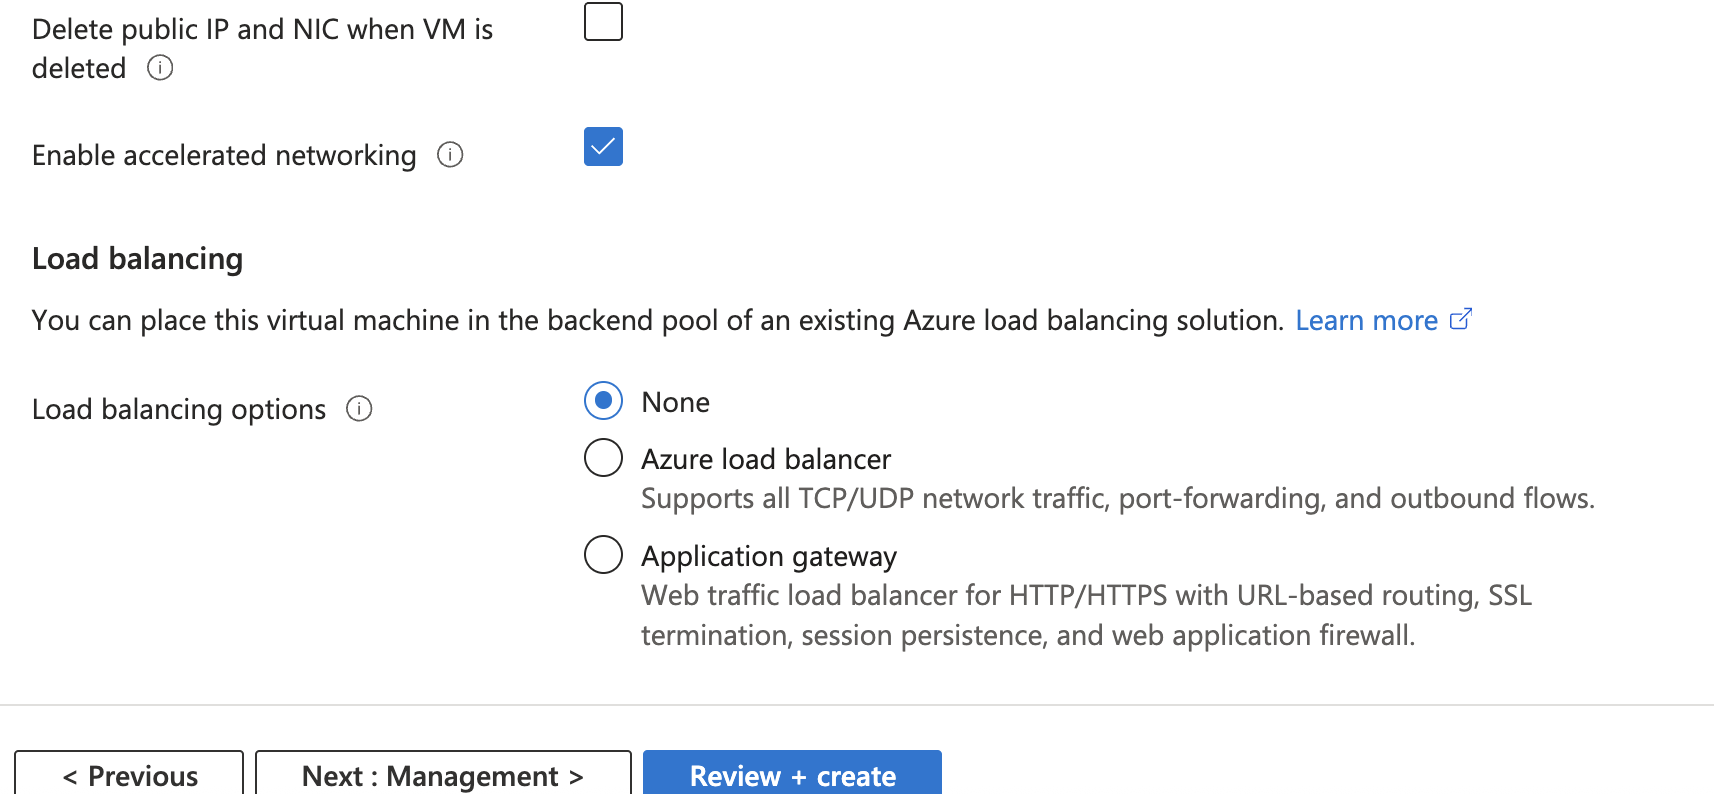
Click on next: Management, next:monitoring, next:advanced, next:tag.
you don't have choose or change anything because we want to ssh into the VM
Click on Review + Create- It gives a notification that the *SSH ports set is opened to the internet. Meaning anyone can access it

It also shows the amount of the size of VM and that validation is passed
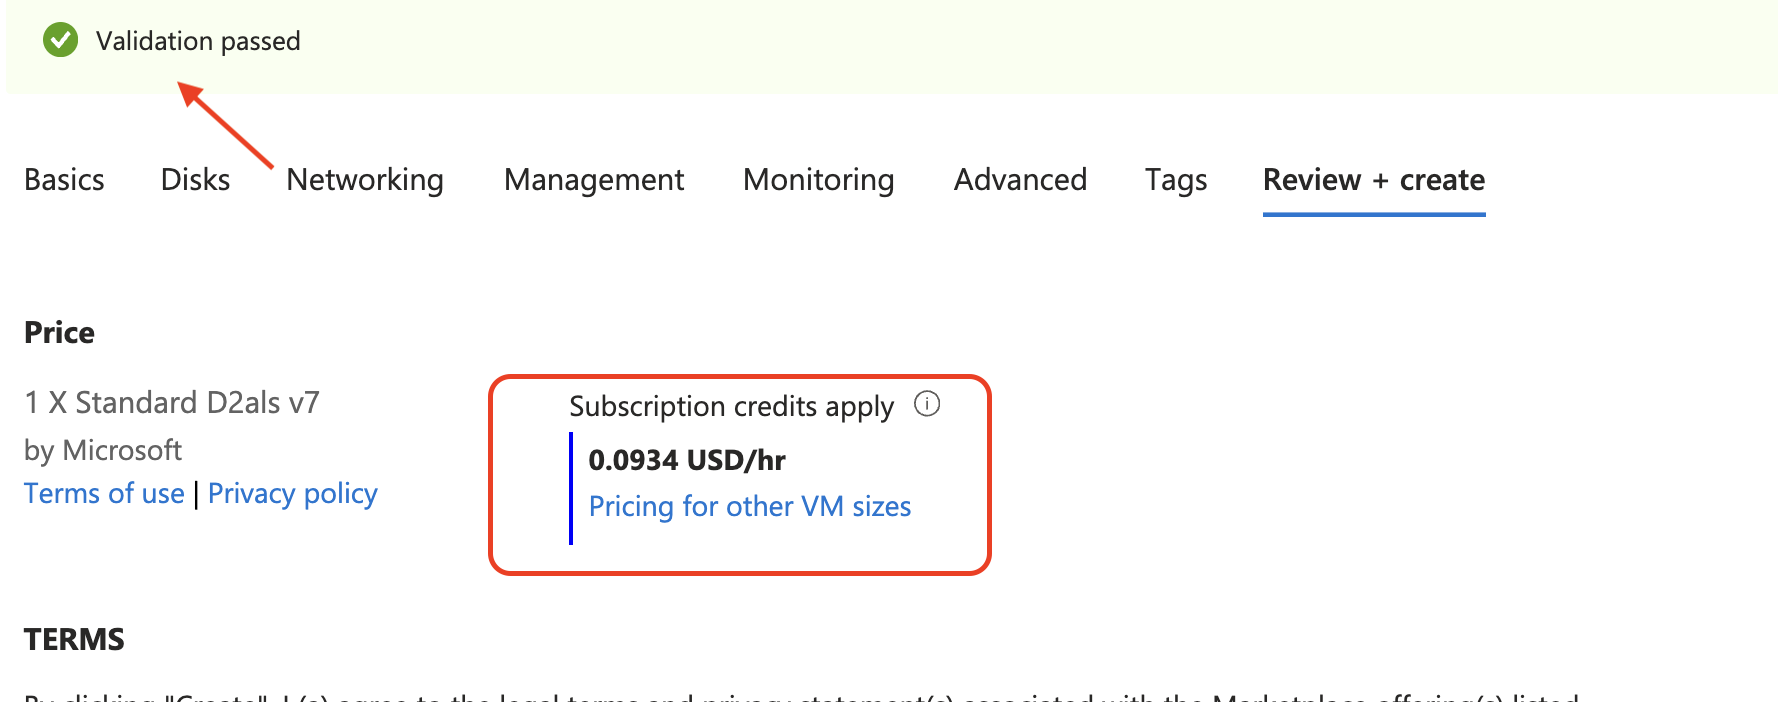
Click on Create
Then click on Download private key and create resource
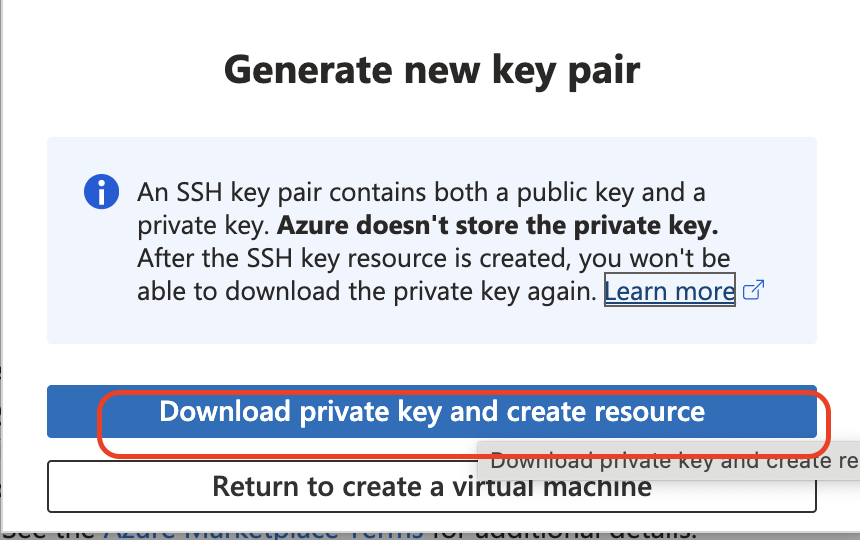
A private key pair will downloaded to your device which ends with .pem (it will be found on your download)
The public IP is created on Azure.
Note: The private key pair needed to ssh and public IP will be used for apache2
Click Create and wait until your VM deployment is complete
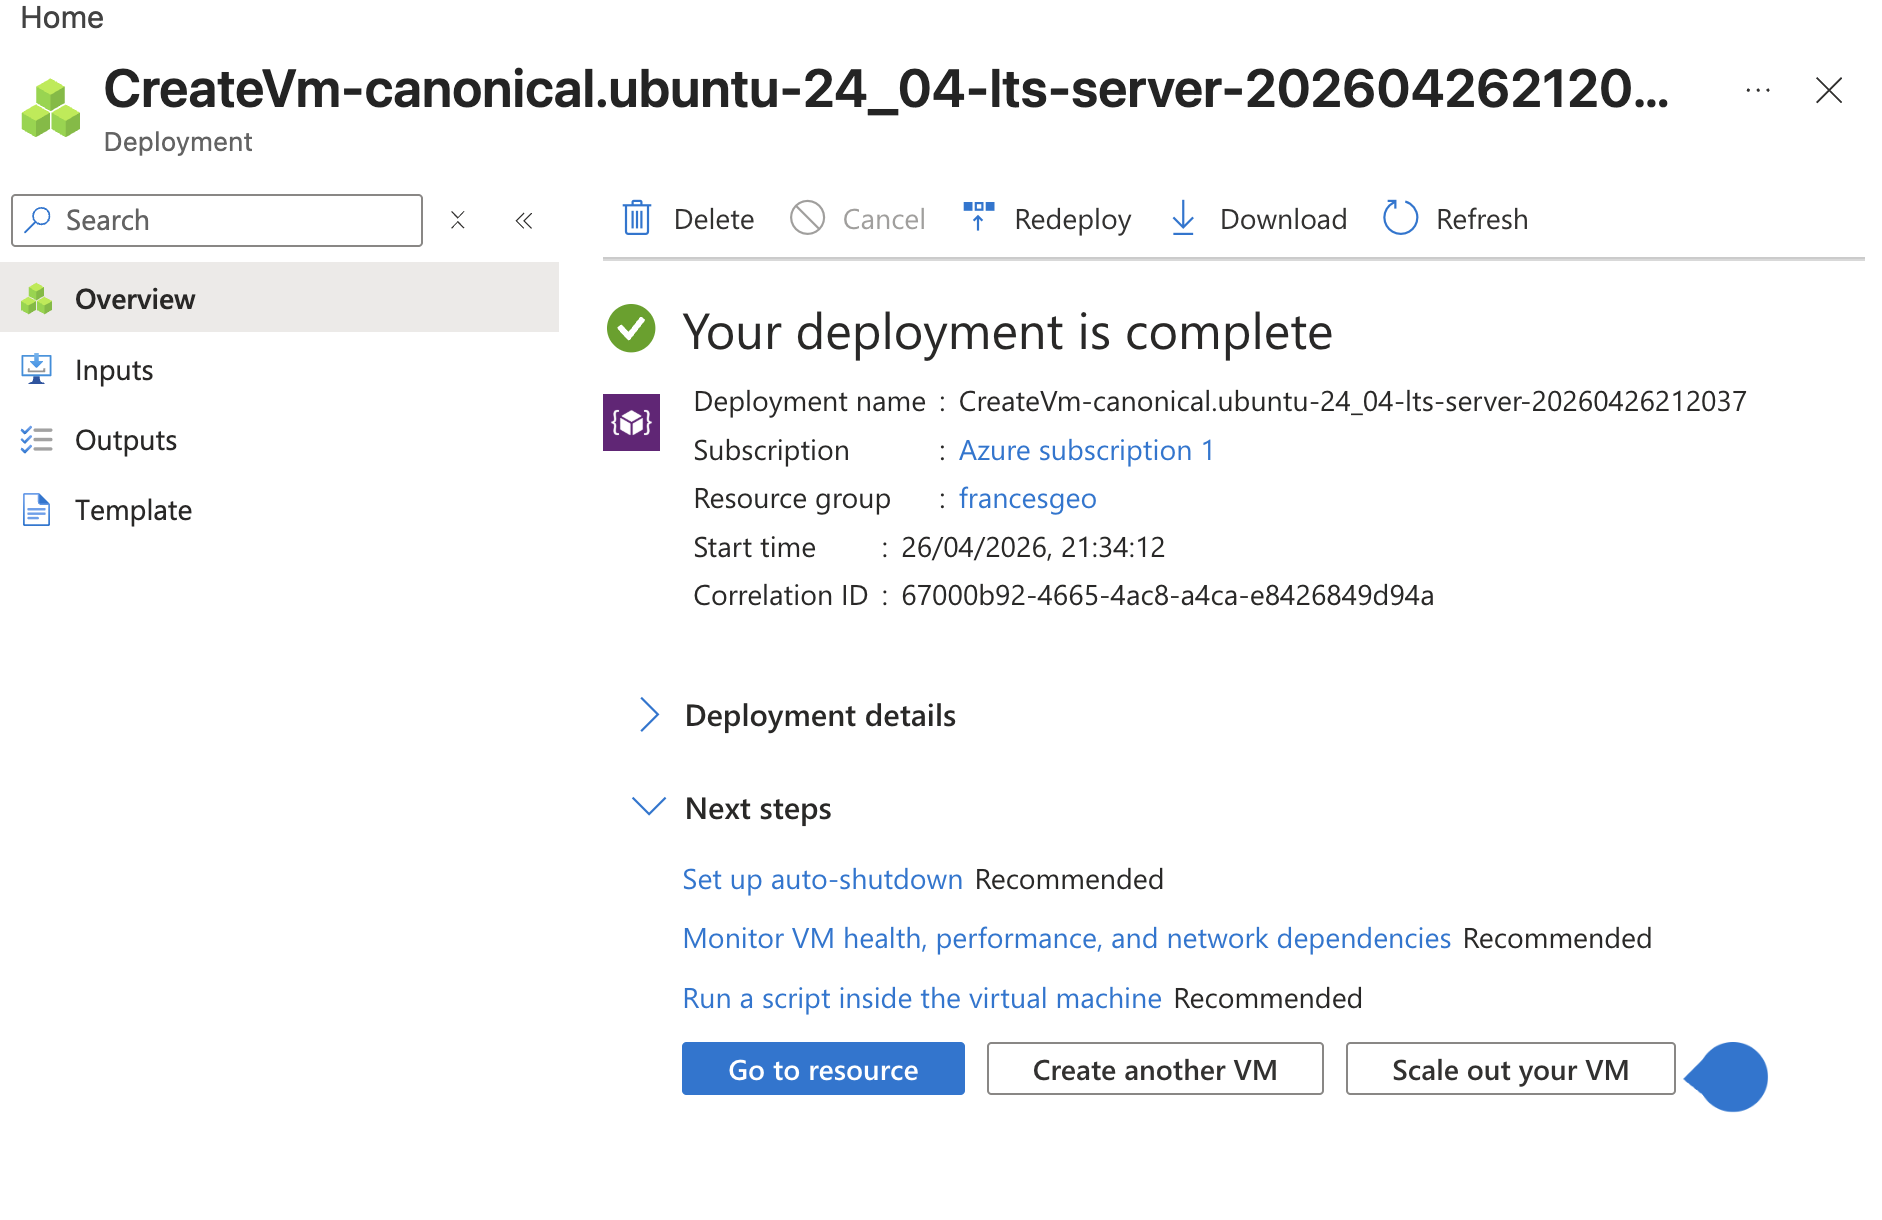
Click -Go to Resource Group and you can copy your public IP. Below is an example of Public IP
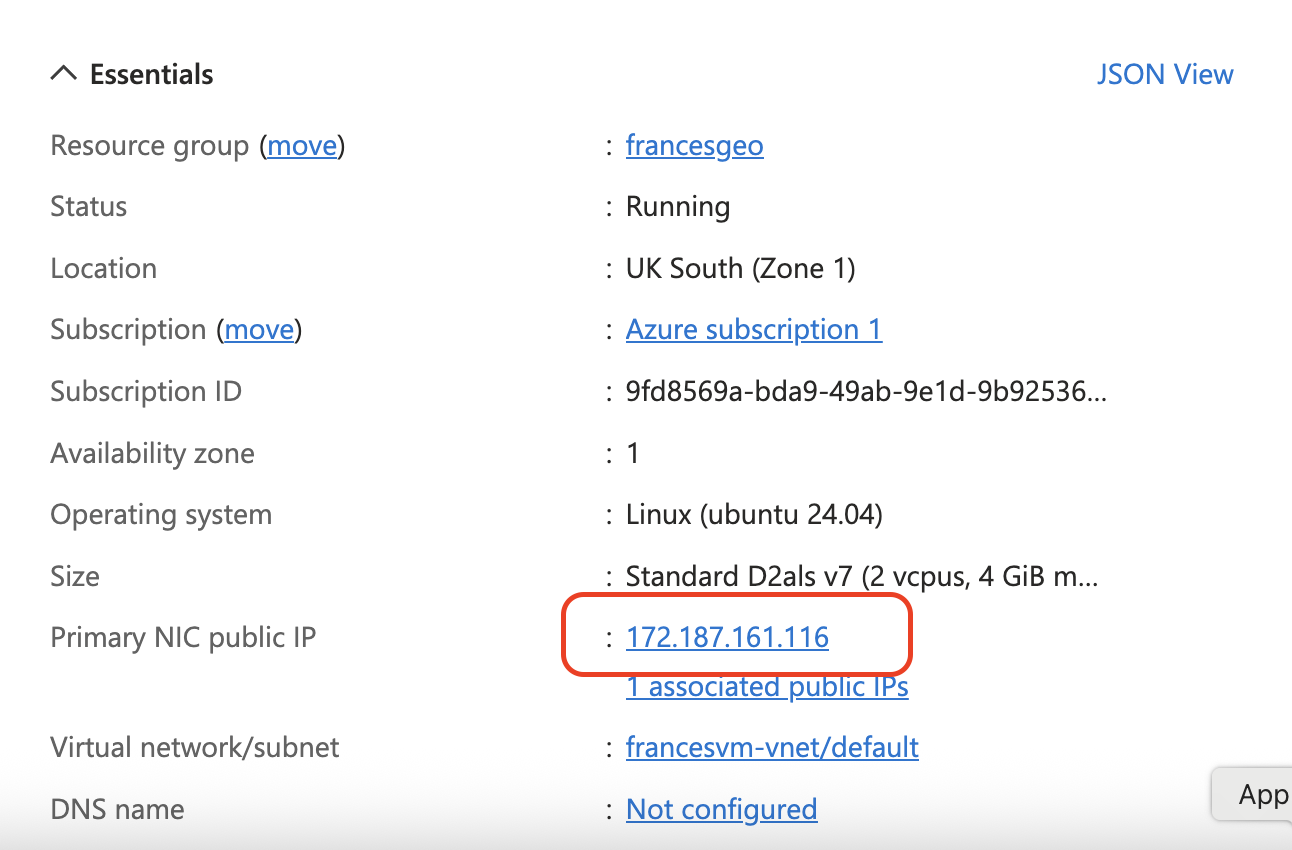
STEP 5
SSH into your VM
Go to your Git bash or Terminal and do the below commands
Command are very sensitive. Any mistake you make will not give you the right result
1- type command cd Downloads
The term cd means change directory. It helps you go into the directory where you have your private key pair
2-type command pwd -It is print working directory . it displays the absolute path of the directory you are currently in.
3-type command ls . It shows files and folders in the current directory (or a specified one.
4-type command chmod 400 frances.pem
frances.pem is the private key pair download in your device which was generated in your download
cdmod stands for “change mode”. It’s used to modify the permissions of files and directories.
5-ssh -i frances.pem
ssh stands secure shell host which is a secured encrypted frances@172.187.160.227 (THis command enables you to get access to your VM
ssh space -I space private key pair (downloaded in your device ) space username@publicipaddress
6-Type command yes to let the server know you want to continue
The VM will start running
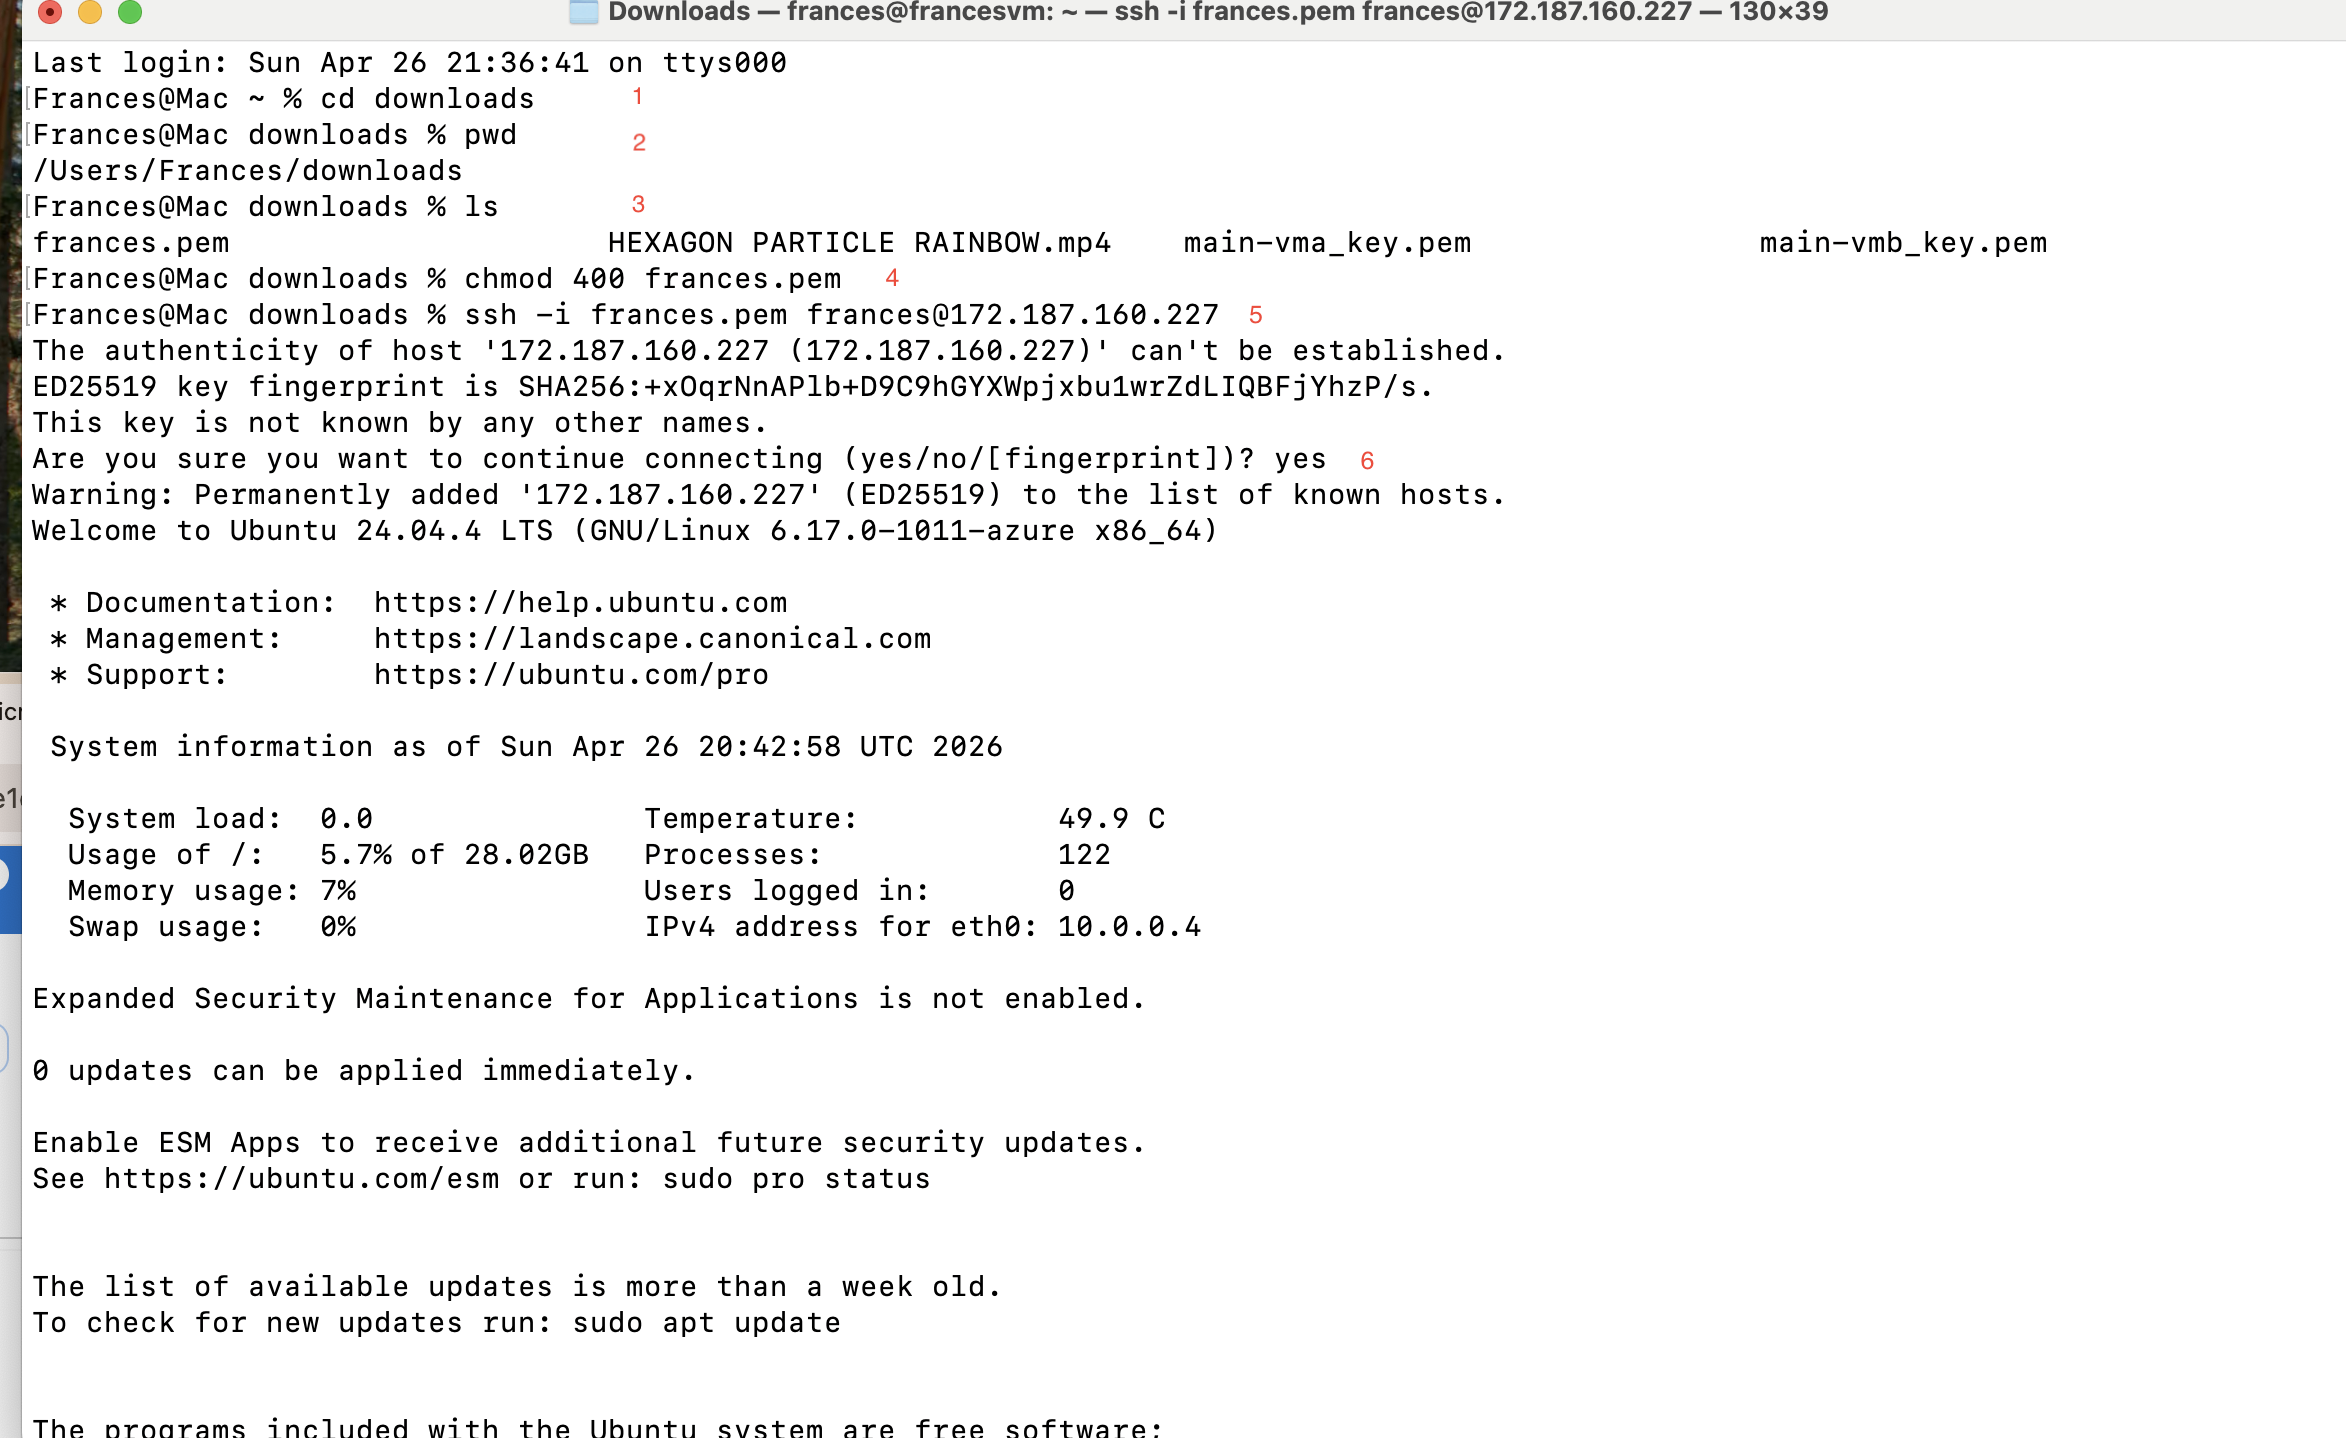
To Check if the server knows who you are
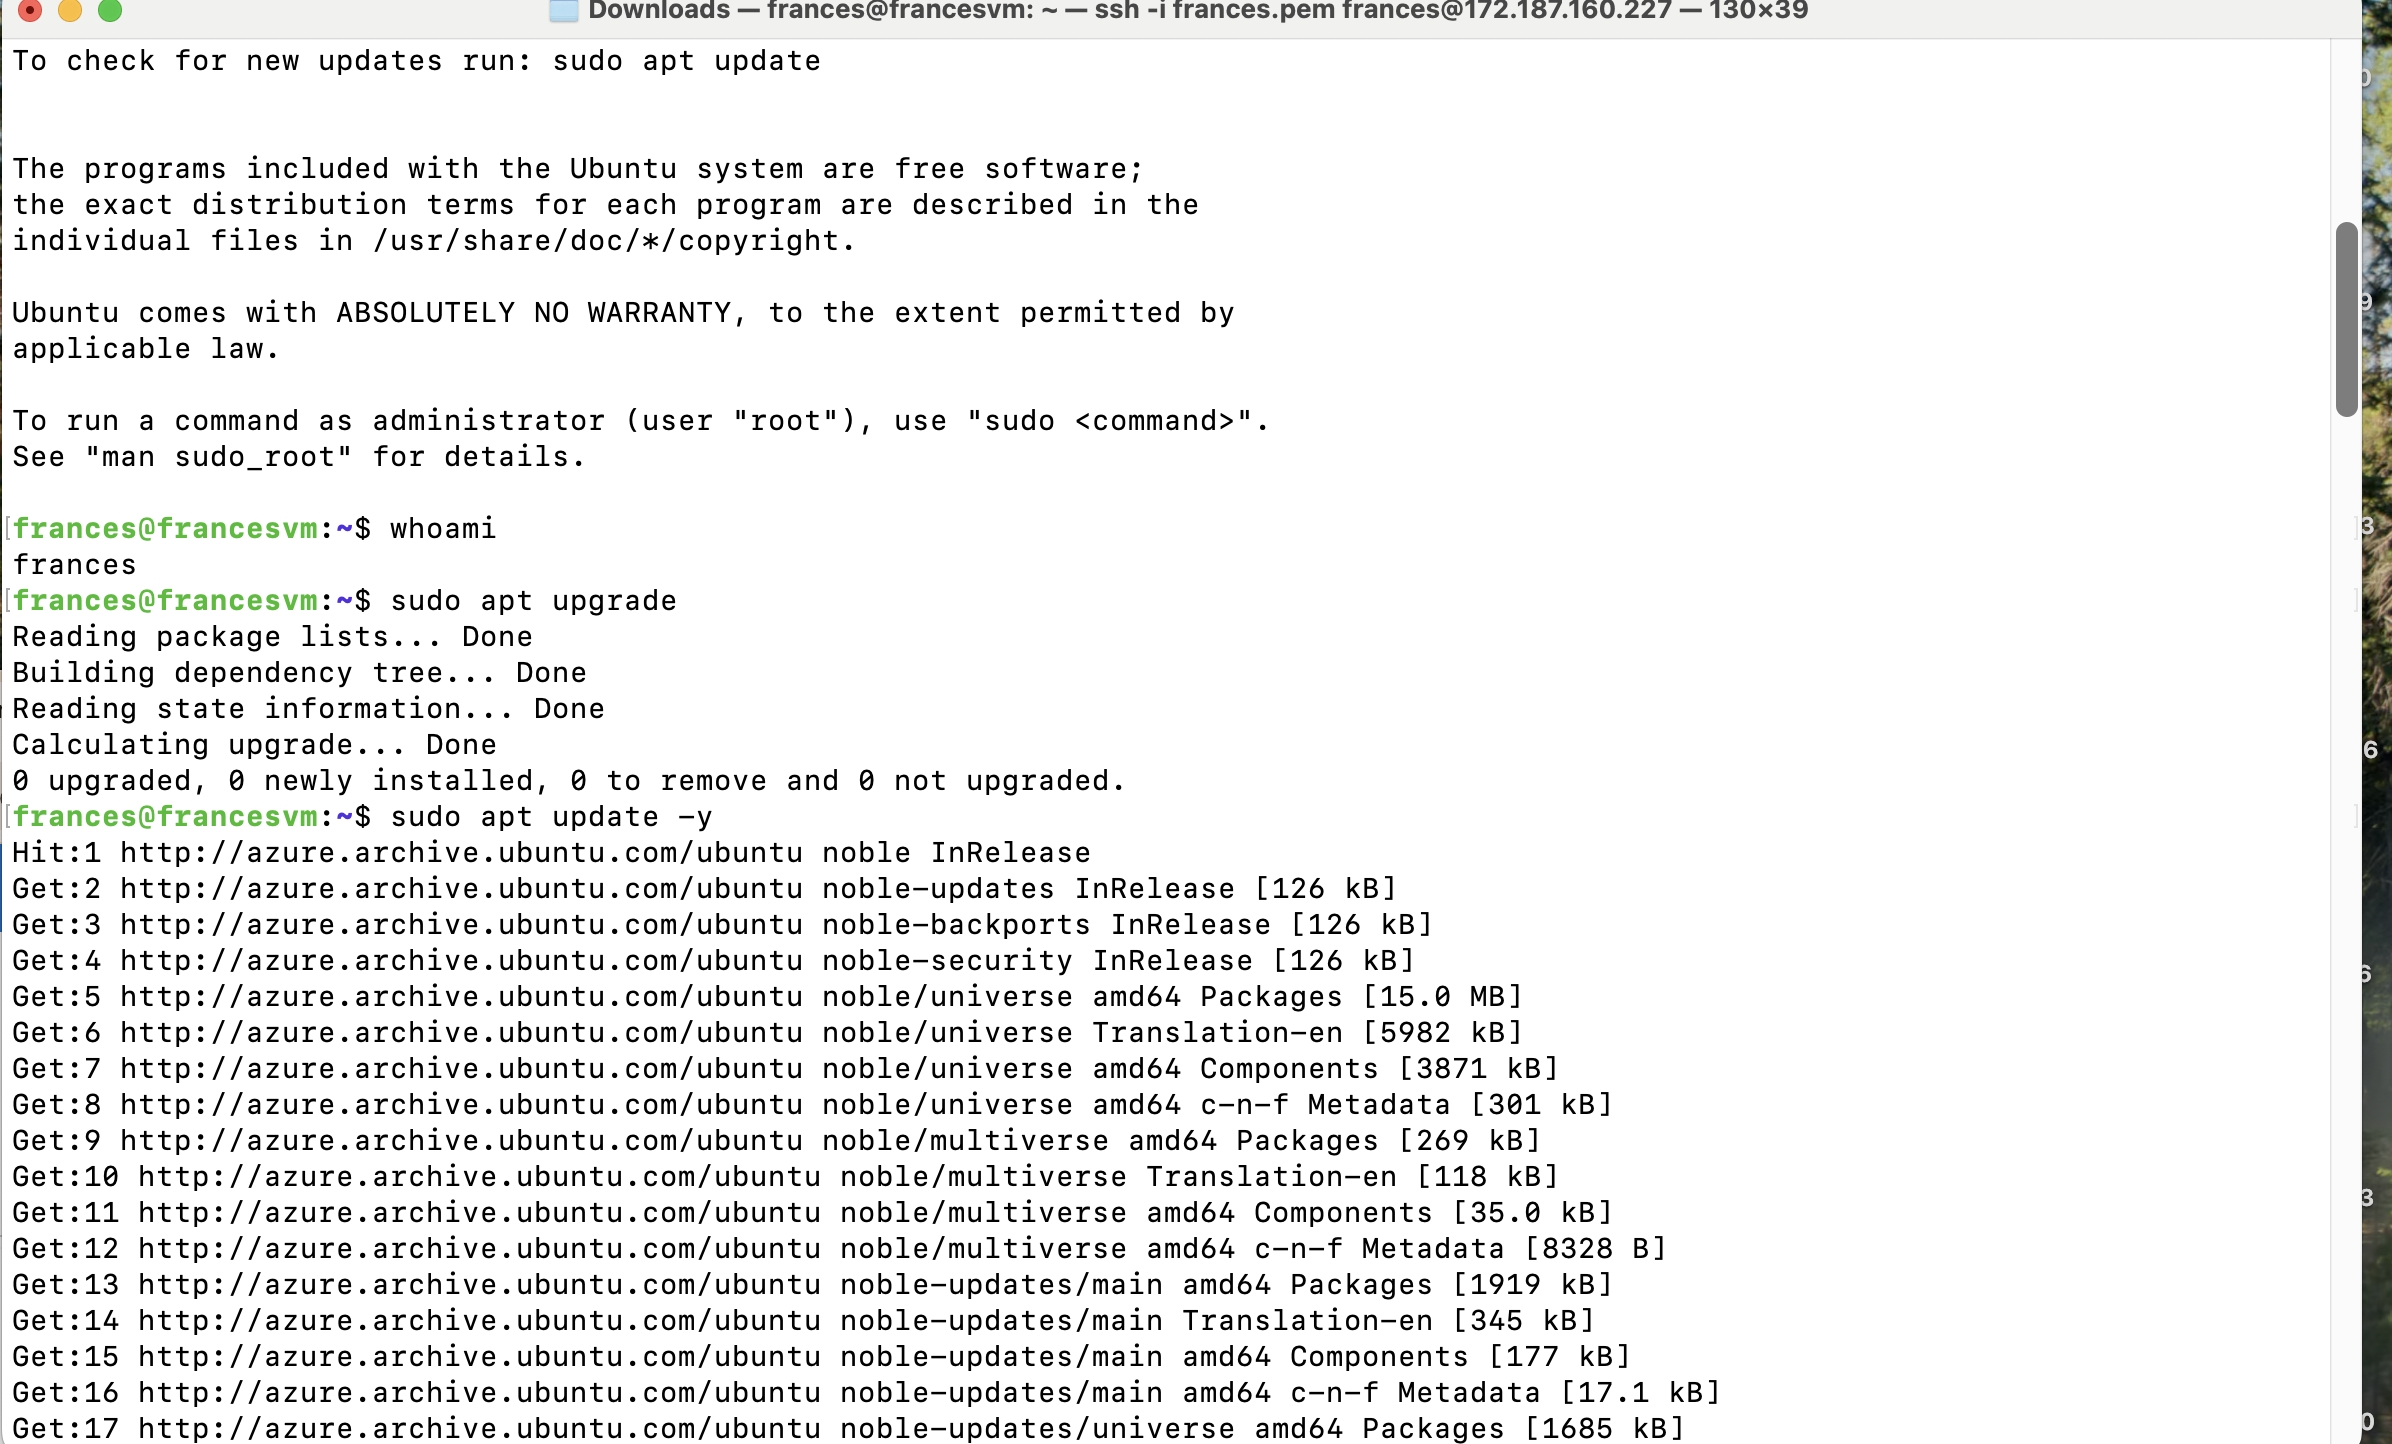
Type command whoami and it will show that you are in the virtual machine apt
To Upgrade,
Type command sudo apt upgrade to upgrade
To update
Type command sudo apt update -y to update
STEP 6
Installing a Web Server (Apache Setup)
To get back to the server(VM)
Go to terminal or git bash and
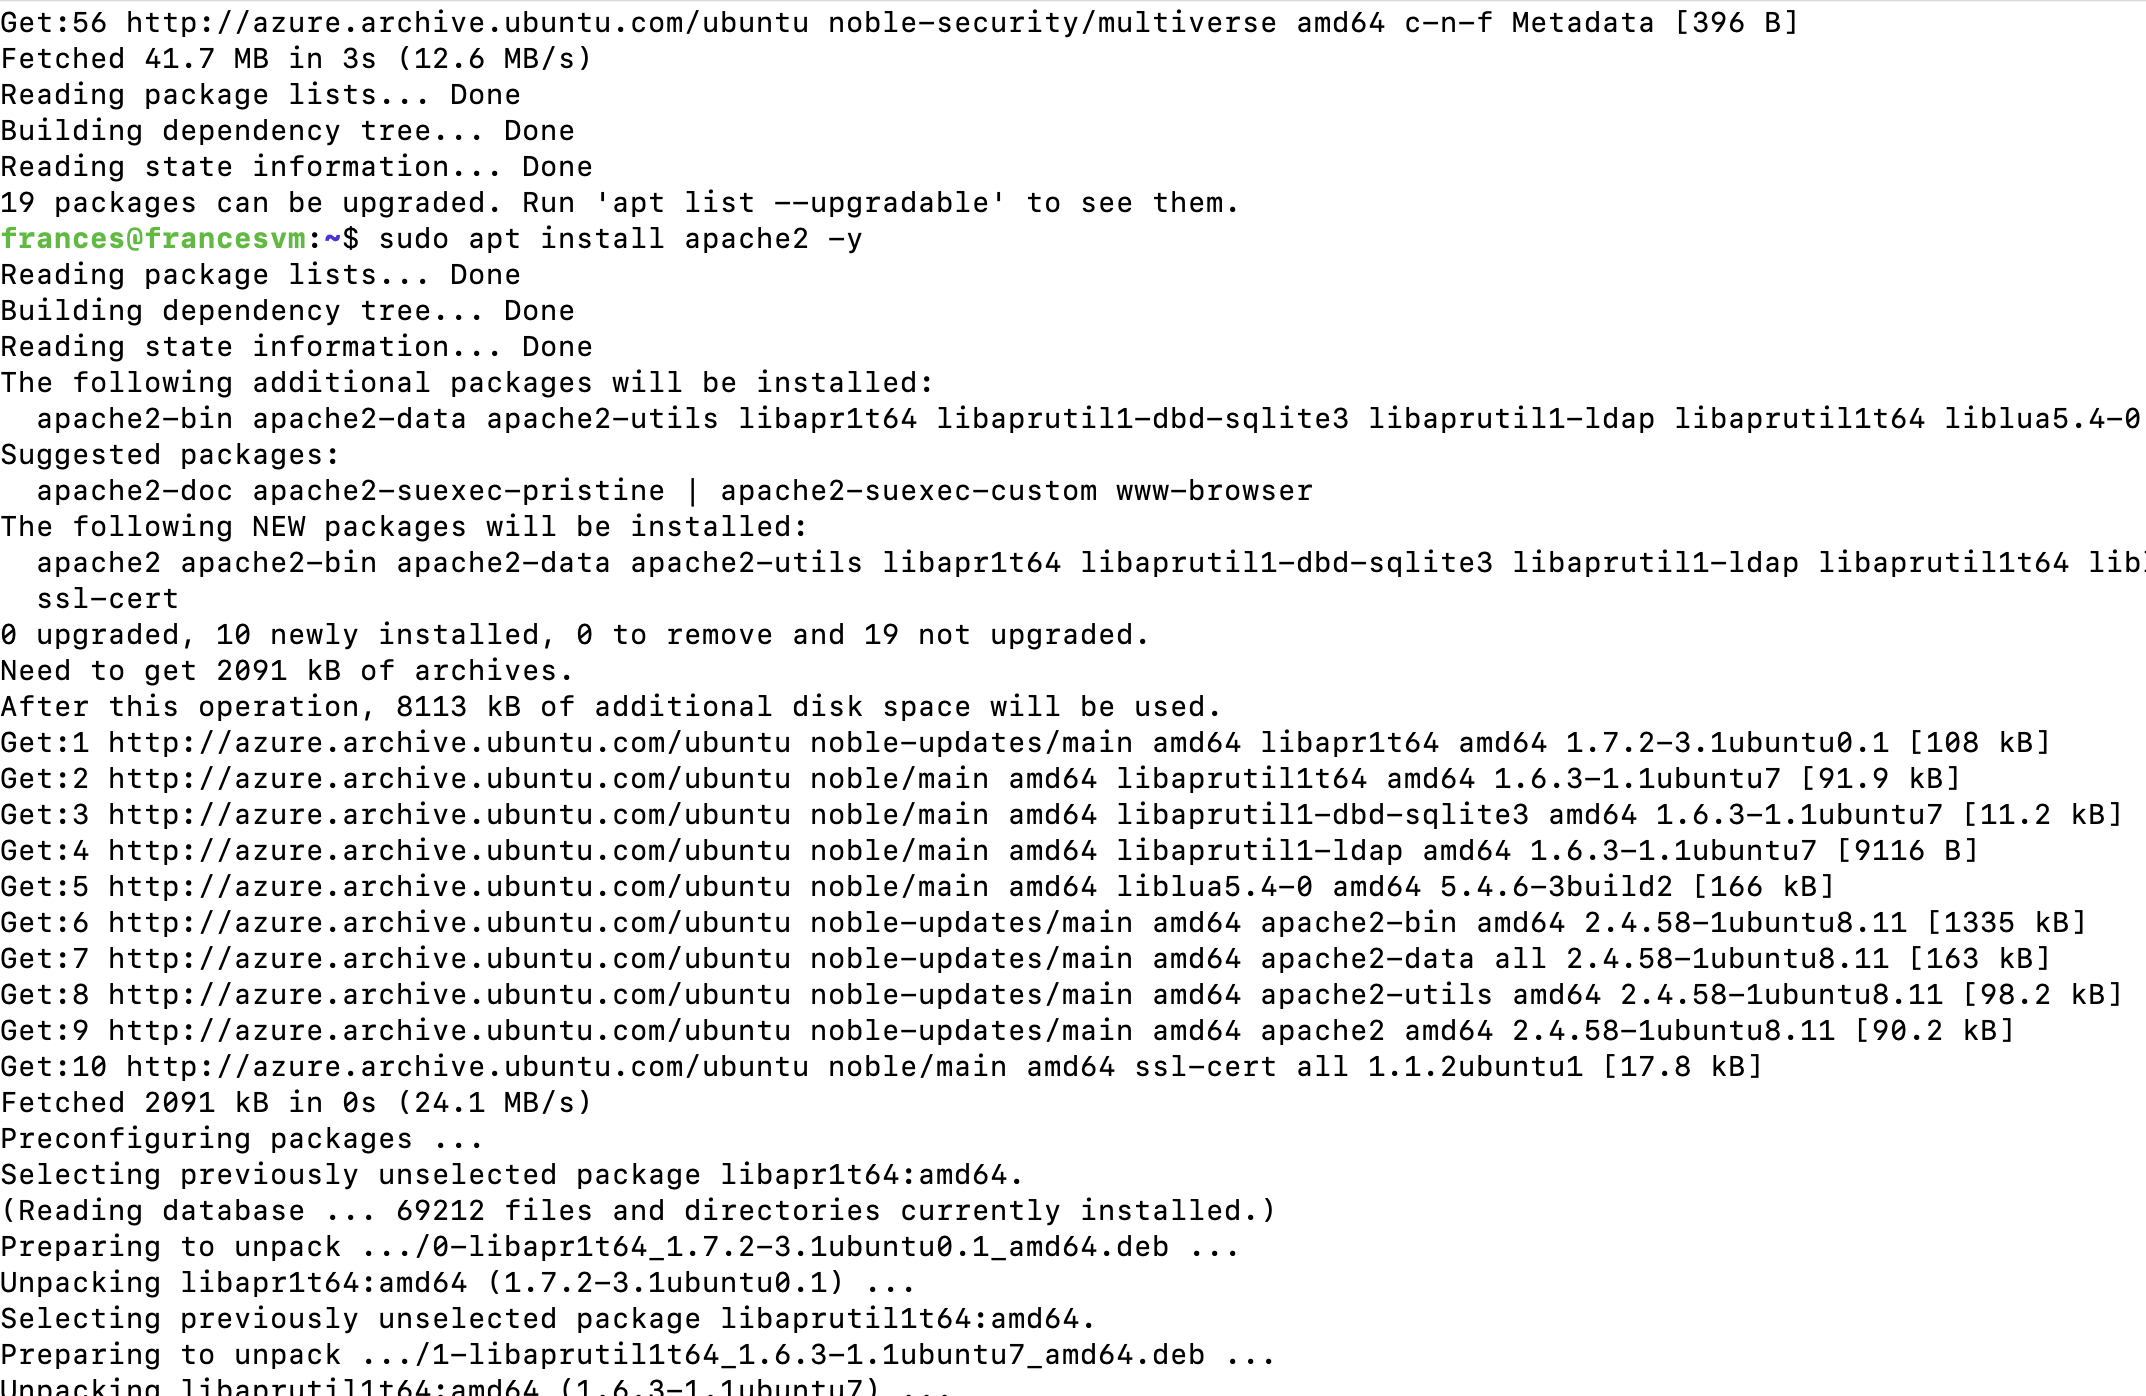
Type command sudo apt install apache2 -y
Apache2 is installed
Then,
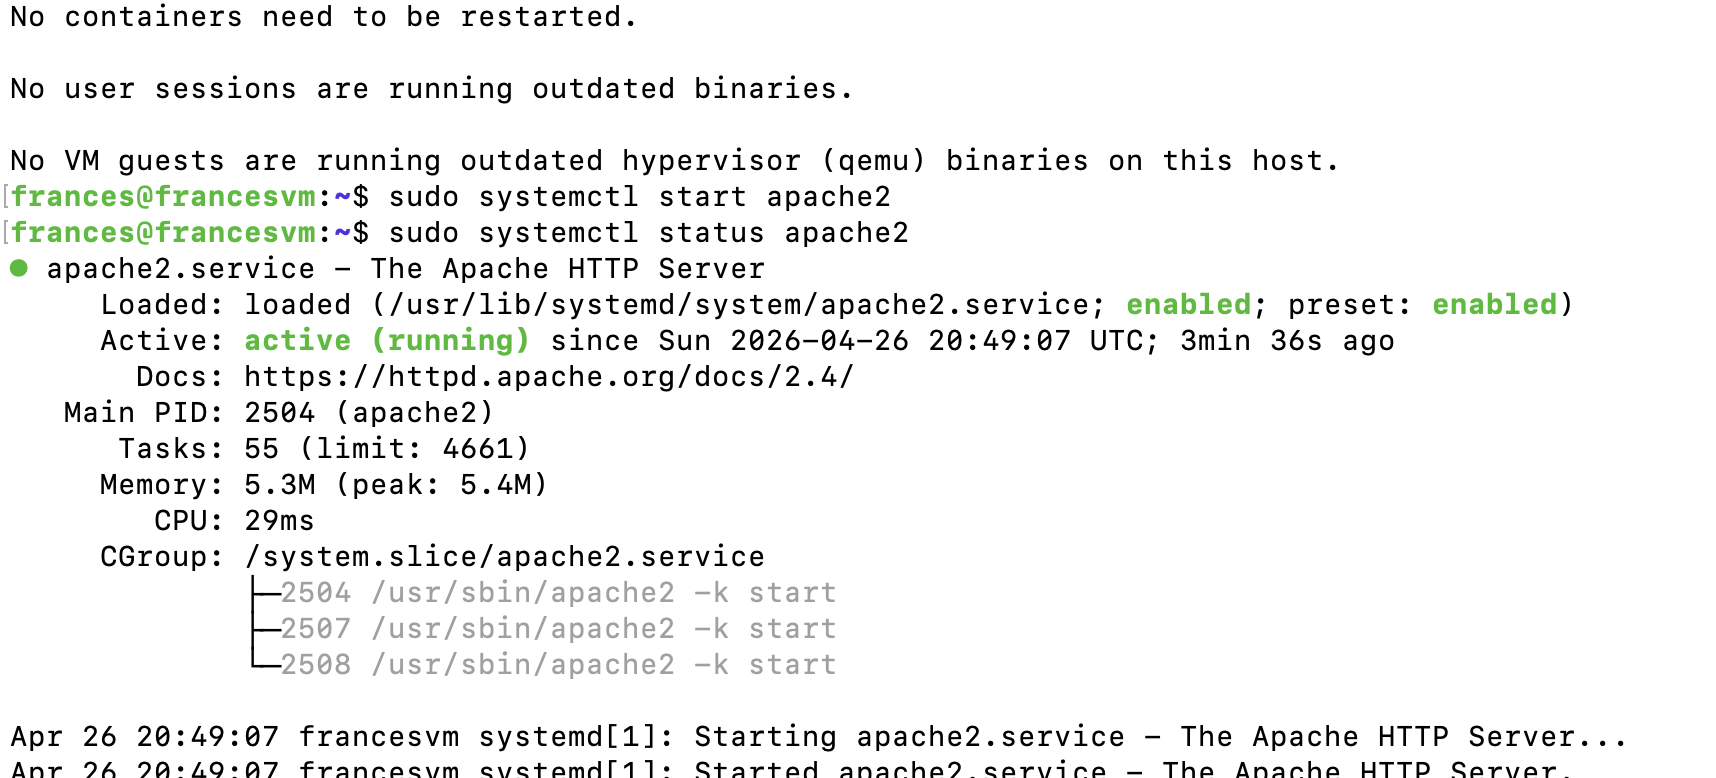
Type command sudo systemctl start apache2
if you put your public ip in web browser. it will not not display Apache page
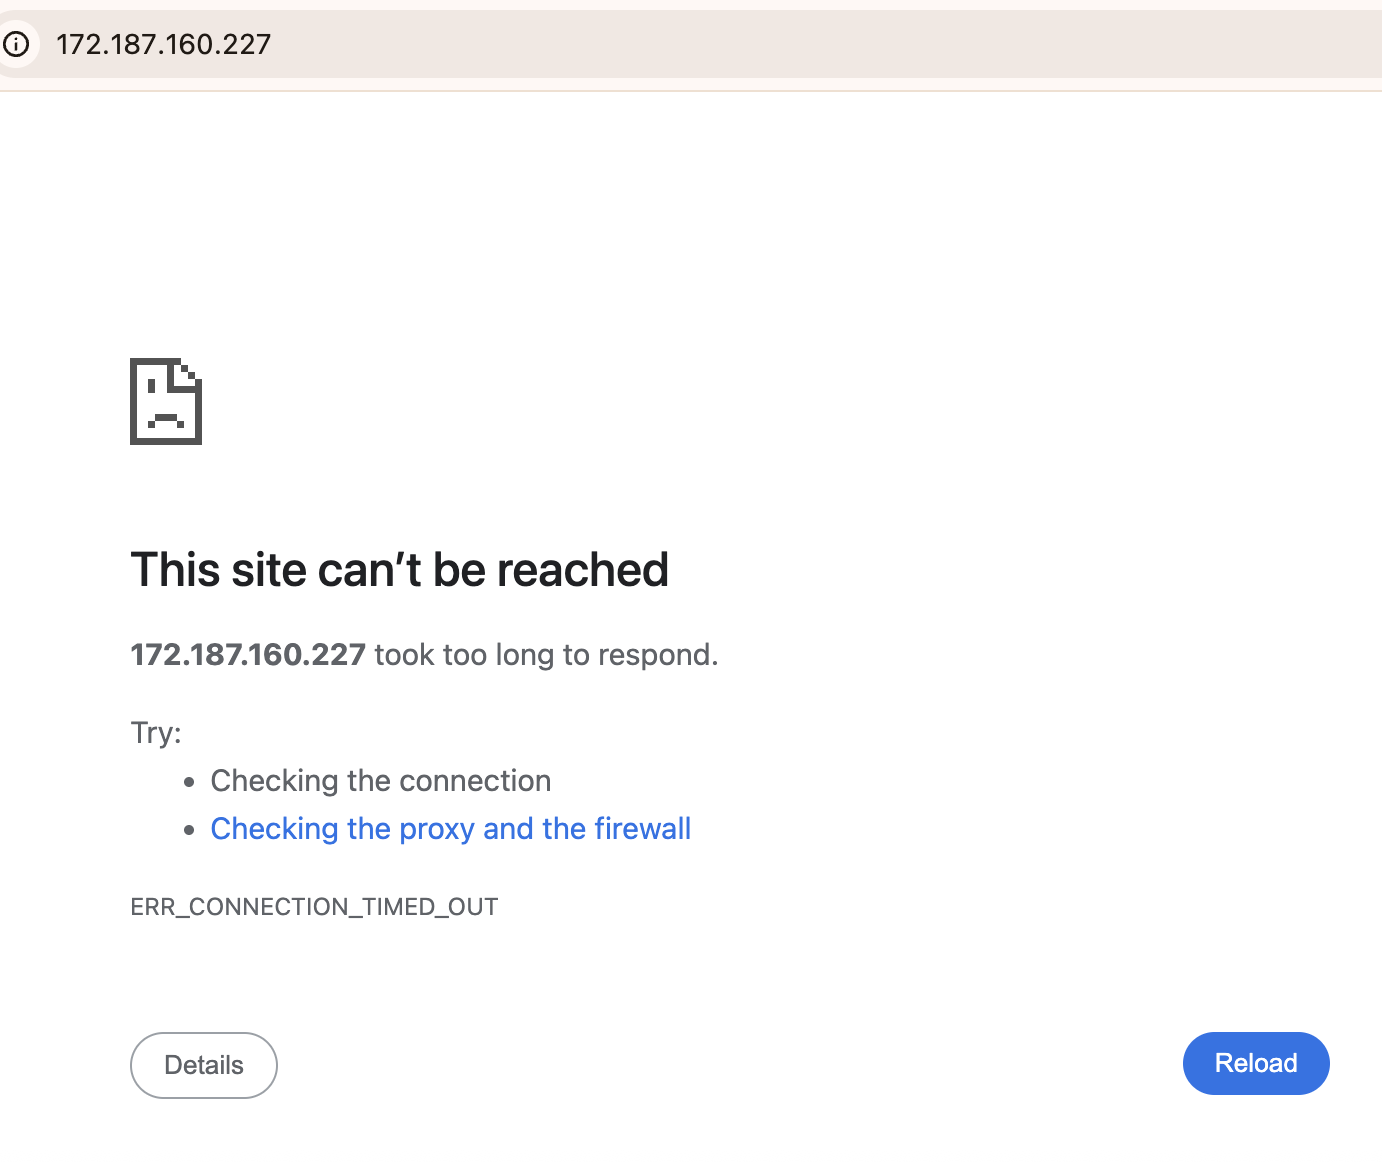
Type command sudo systemctl status apache2. The server will be running but your web browser with your public IP is not responding
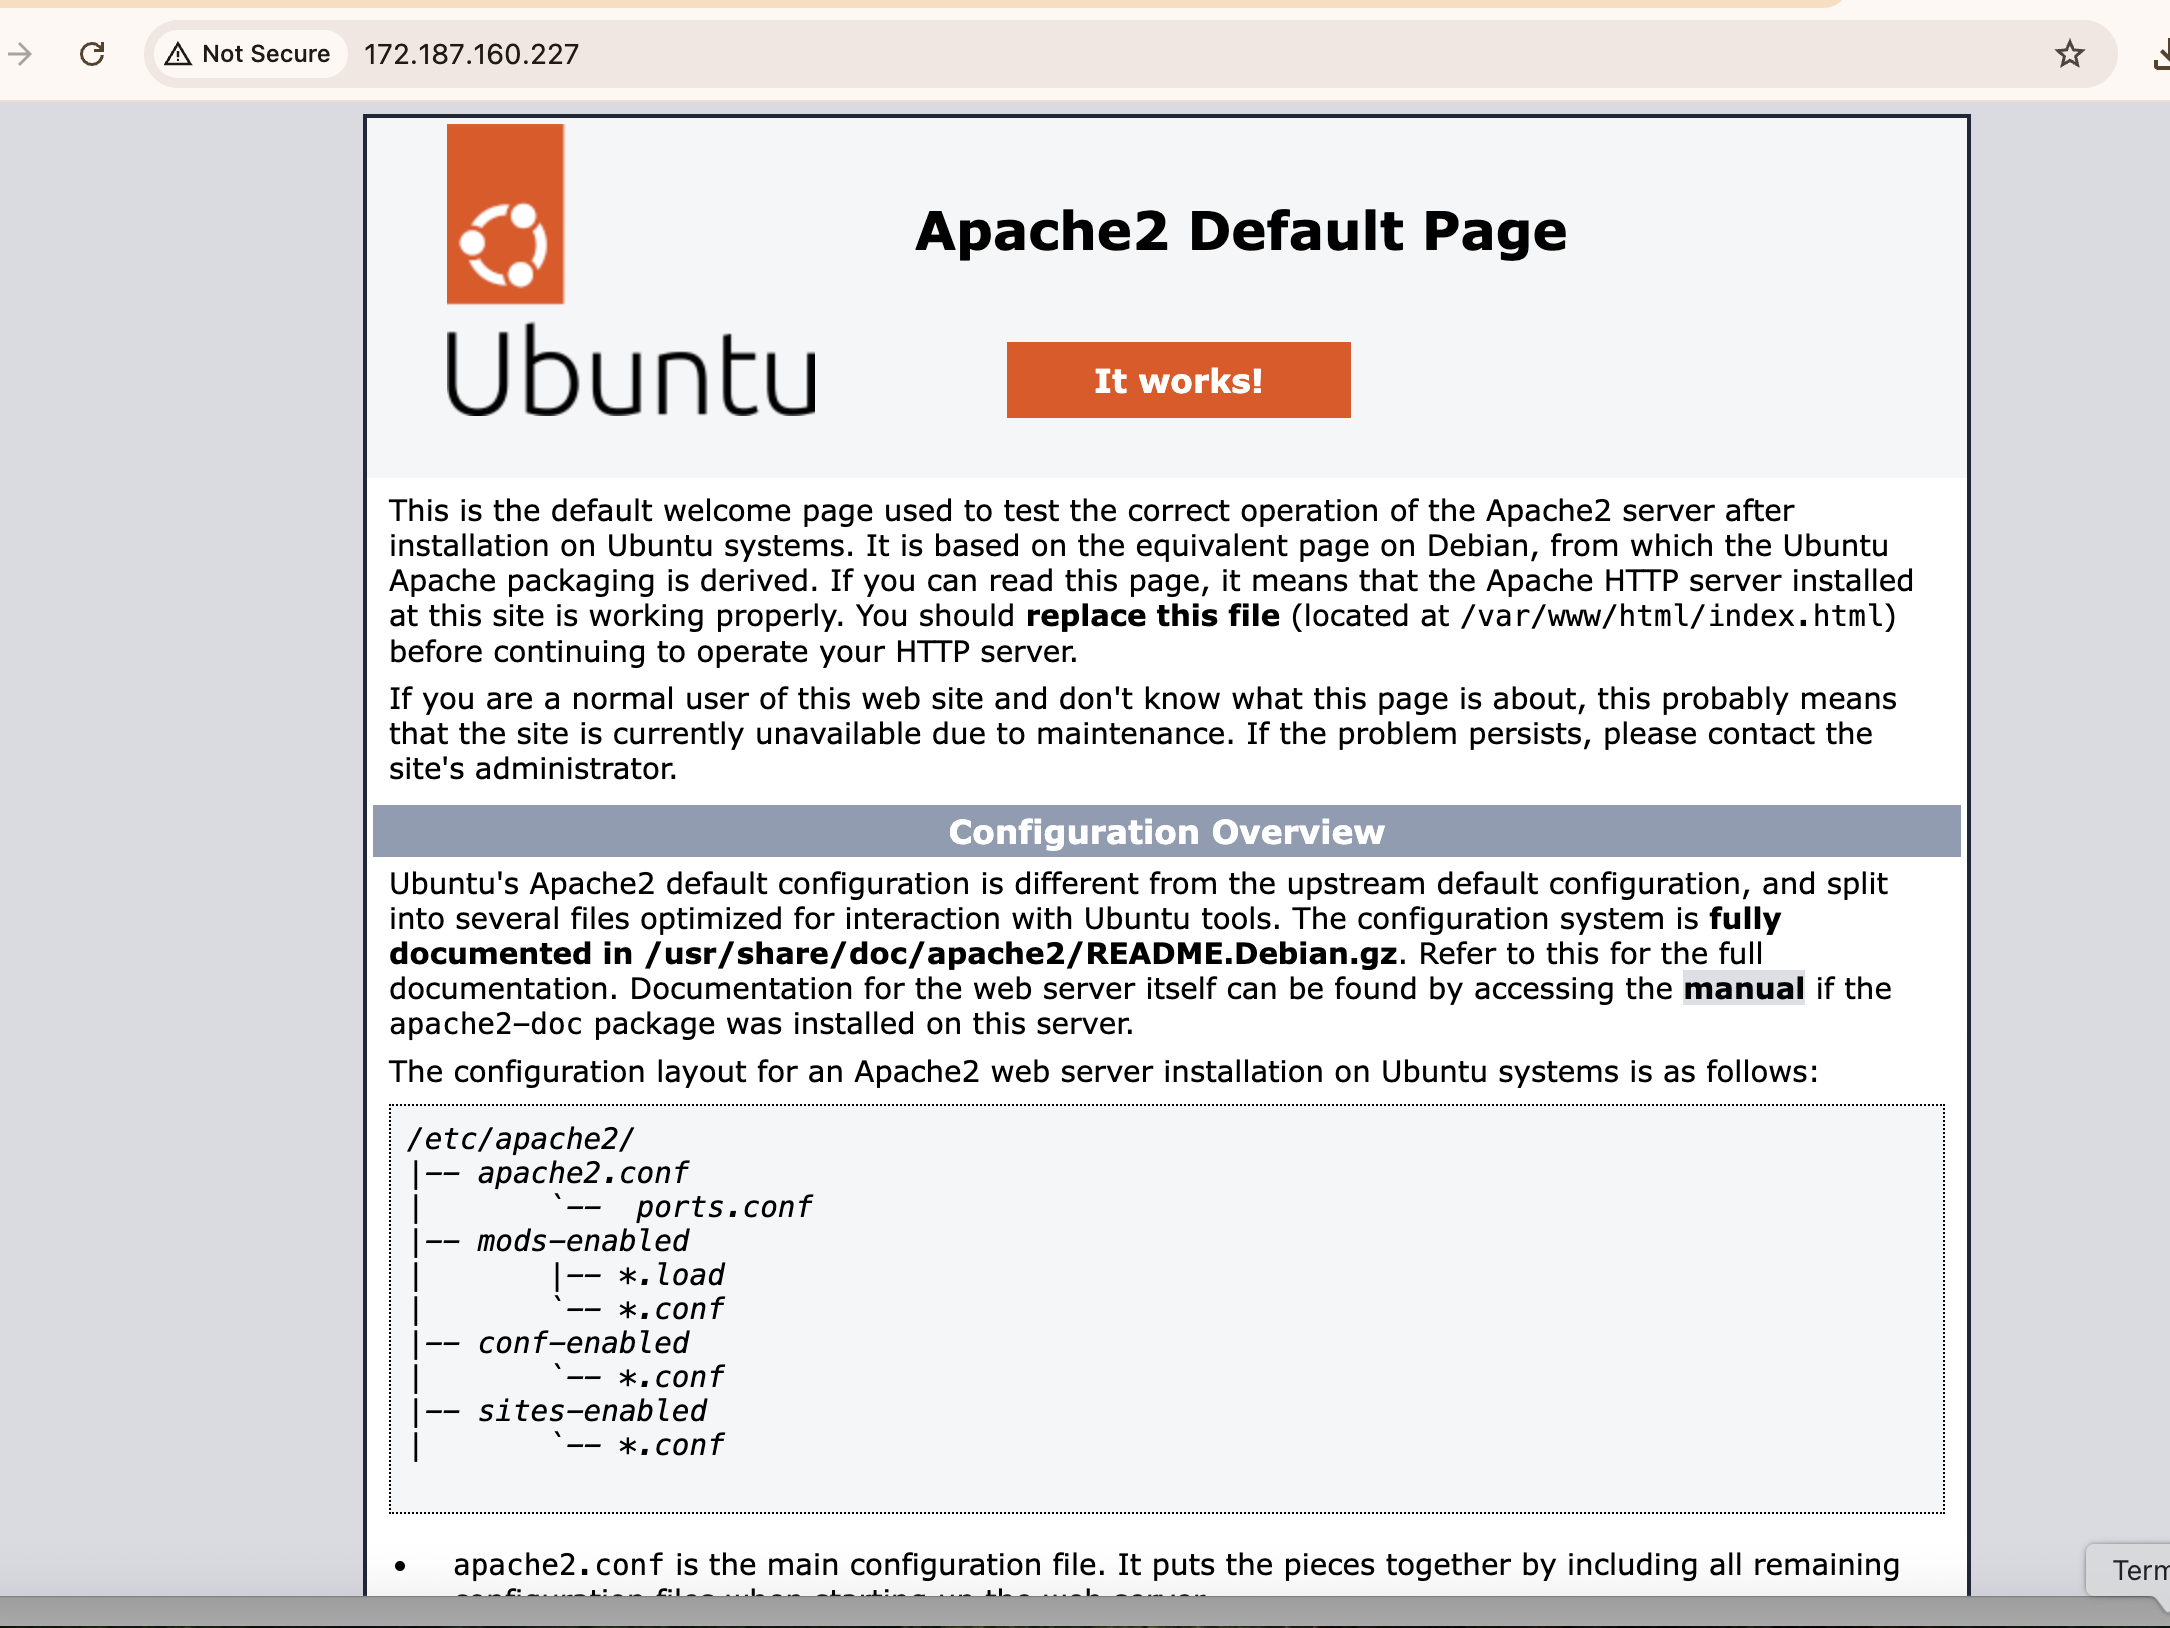
The apache2 logo is not still opening on the browser. We are not seeing the apache2 logo on the website because HTTP port 80 is not open in NSG (Network Security Group)
To get your browser display,
Go to Azure VM
On the left : Click Networking and Click Network setting
Scroll down right: click inbound port rule
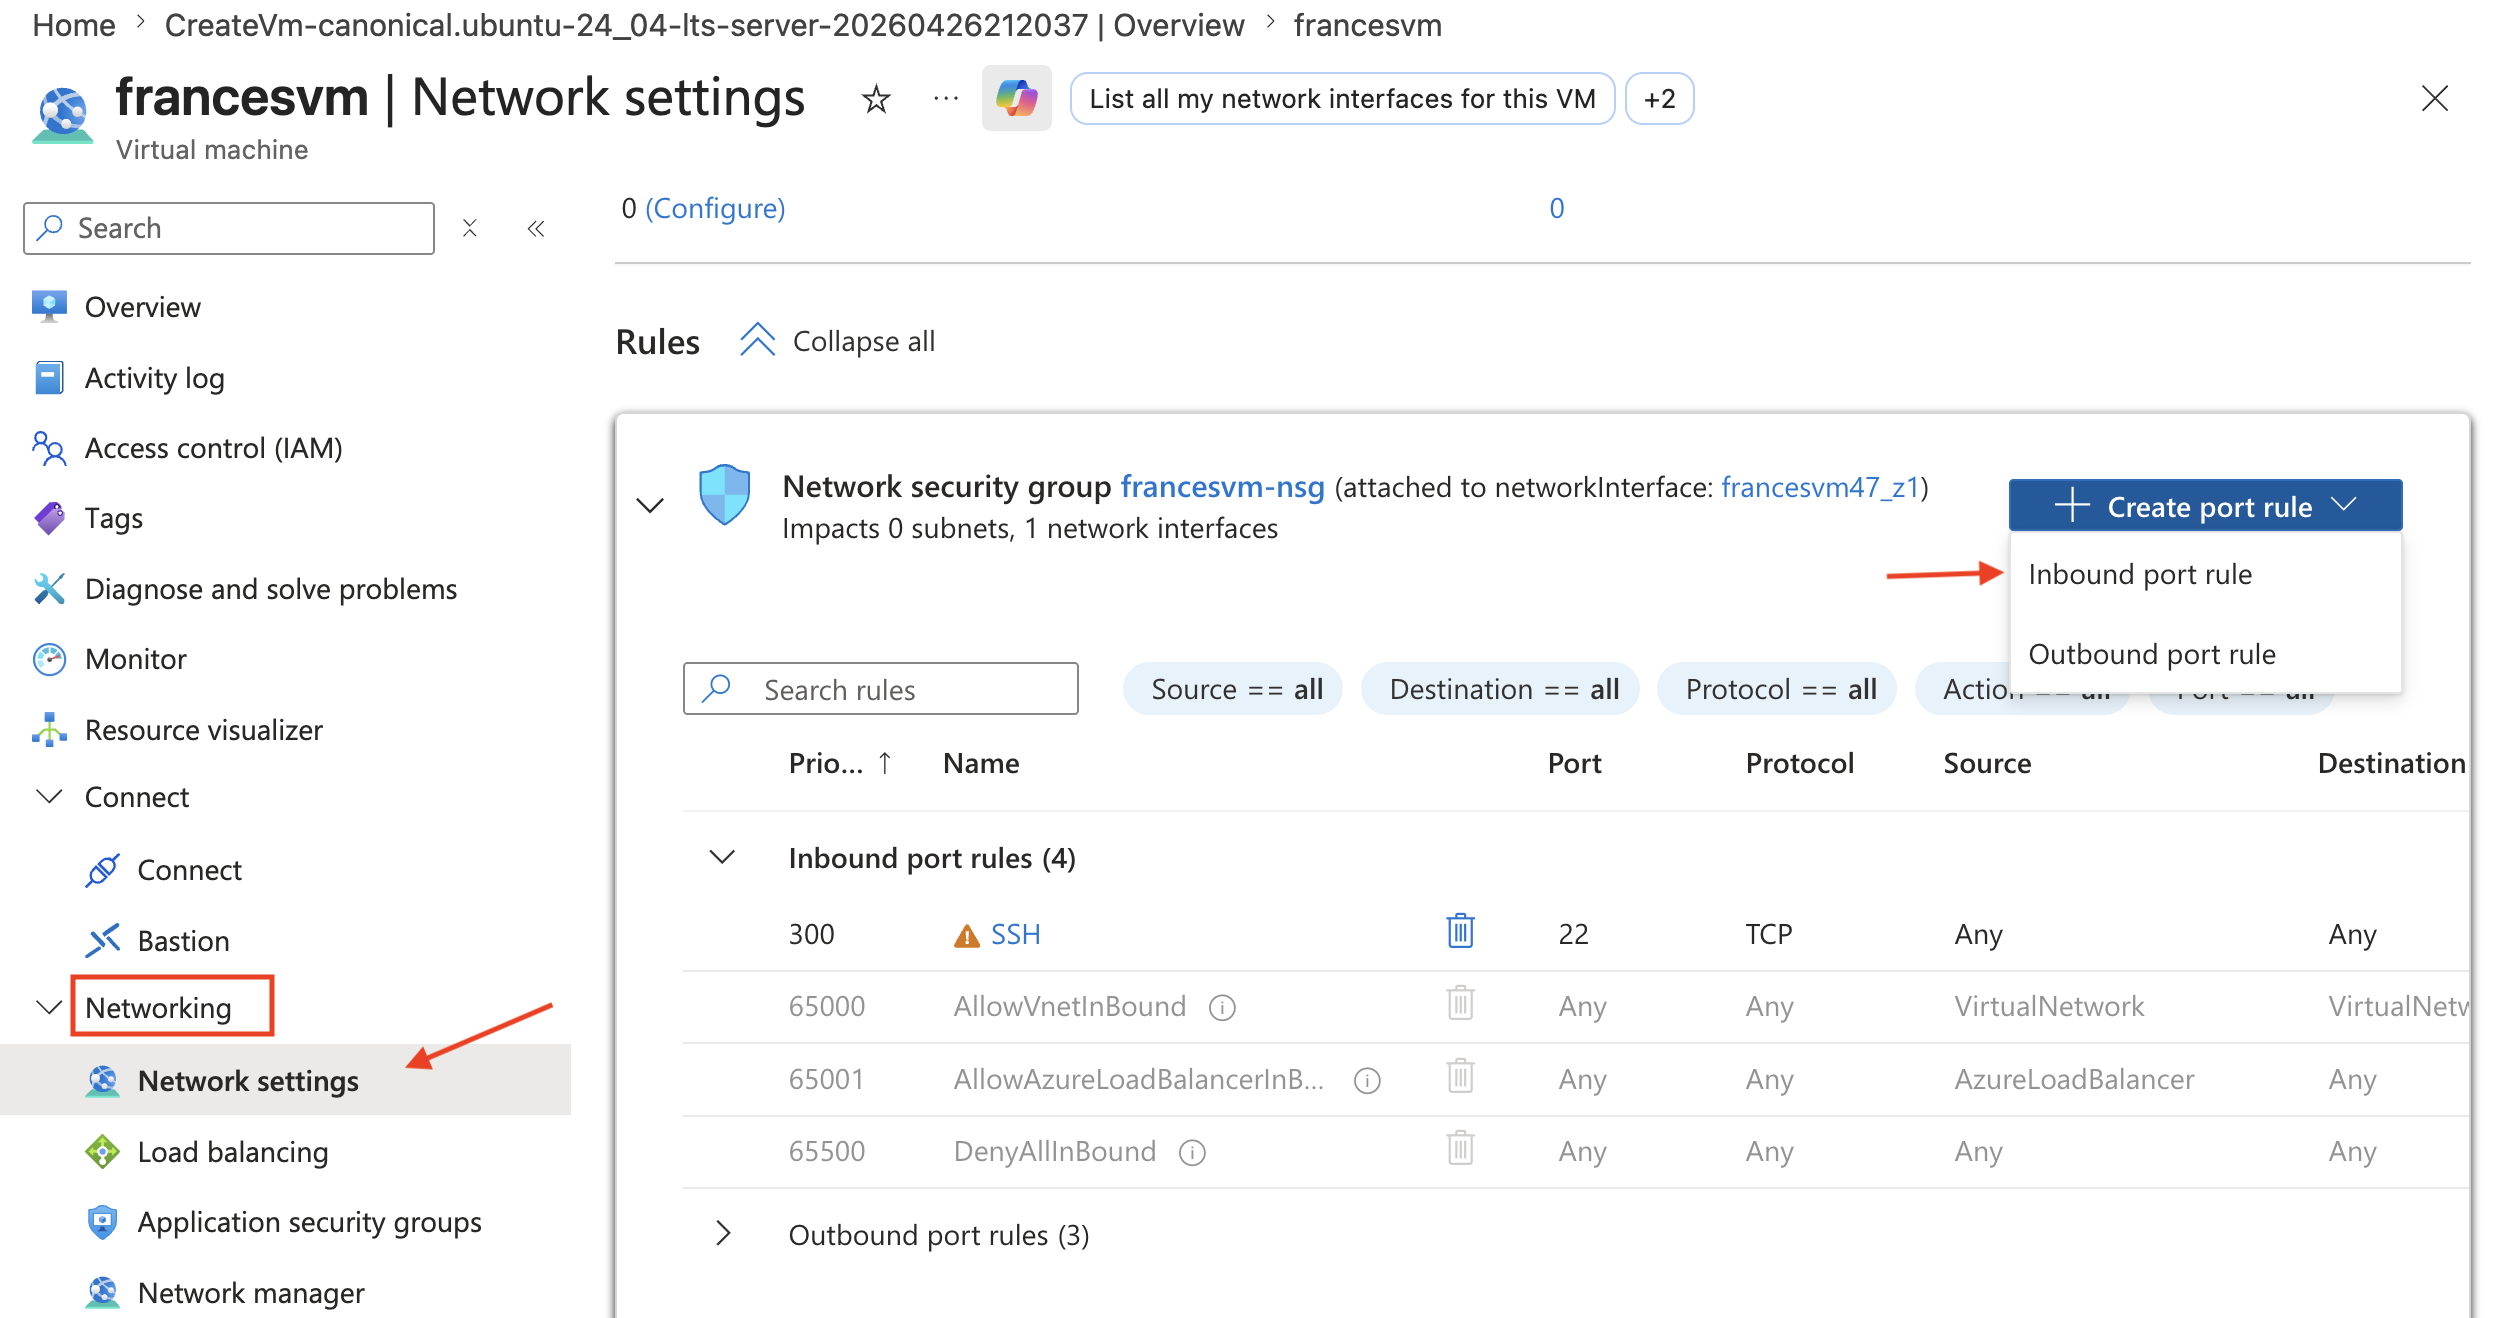
If you find the * inside the box it means all. * outside means compulsory filling.
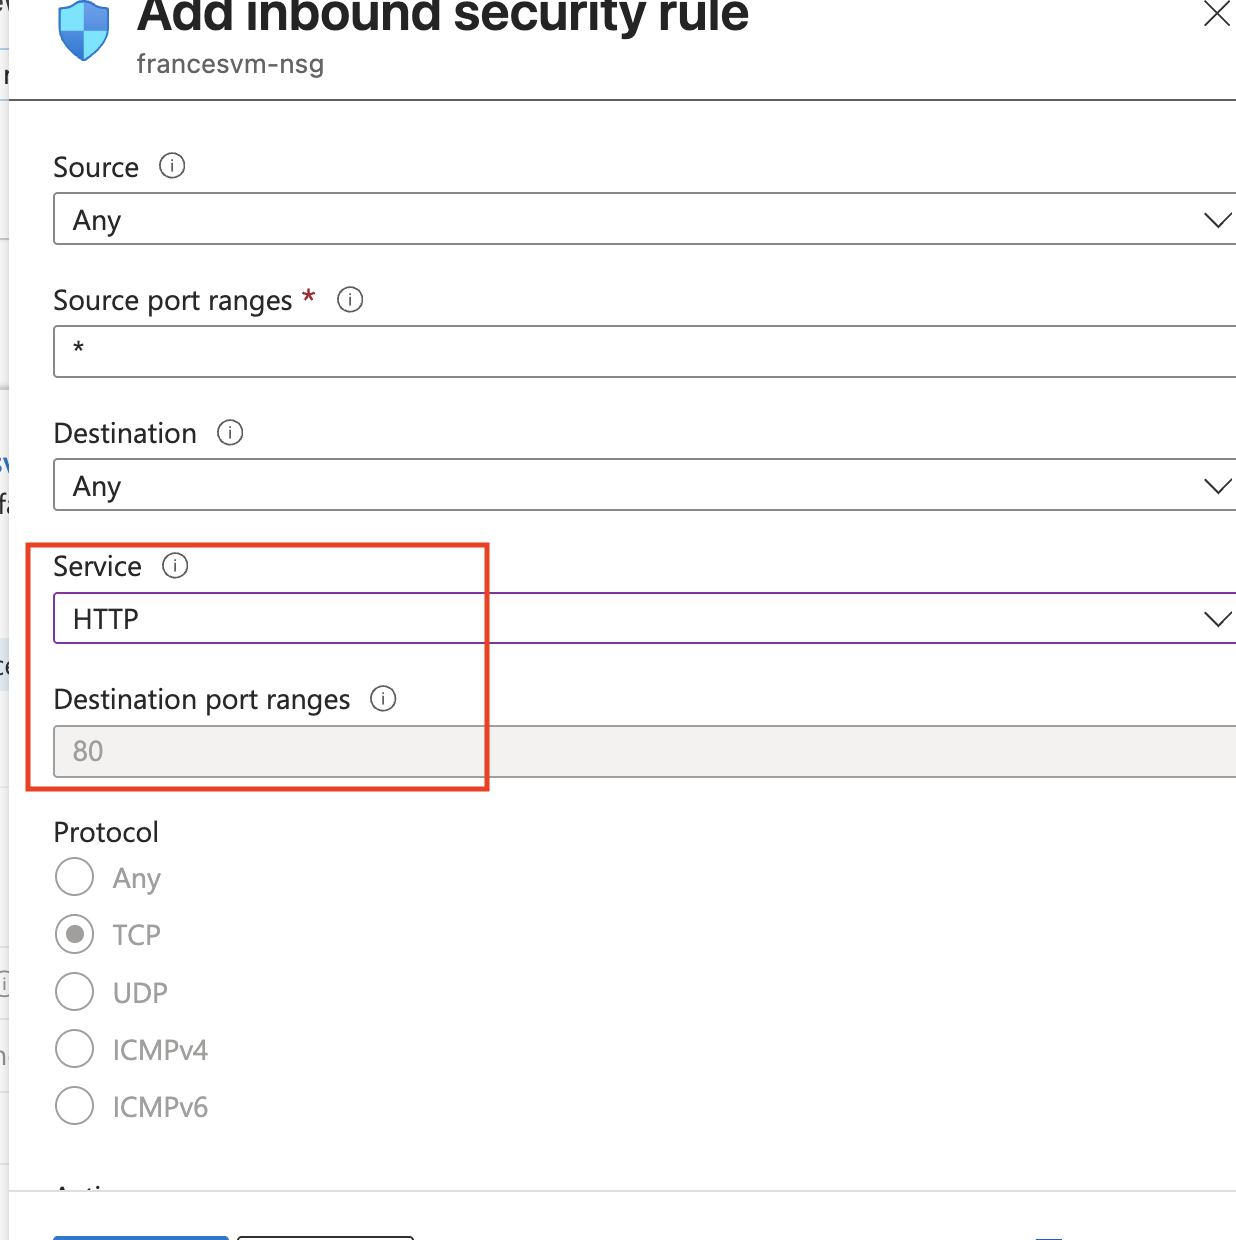
Source: any
source port range: *
Destination: any
Service: choose HTTP because we want to open port 80 inorder to get our web server to dis
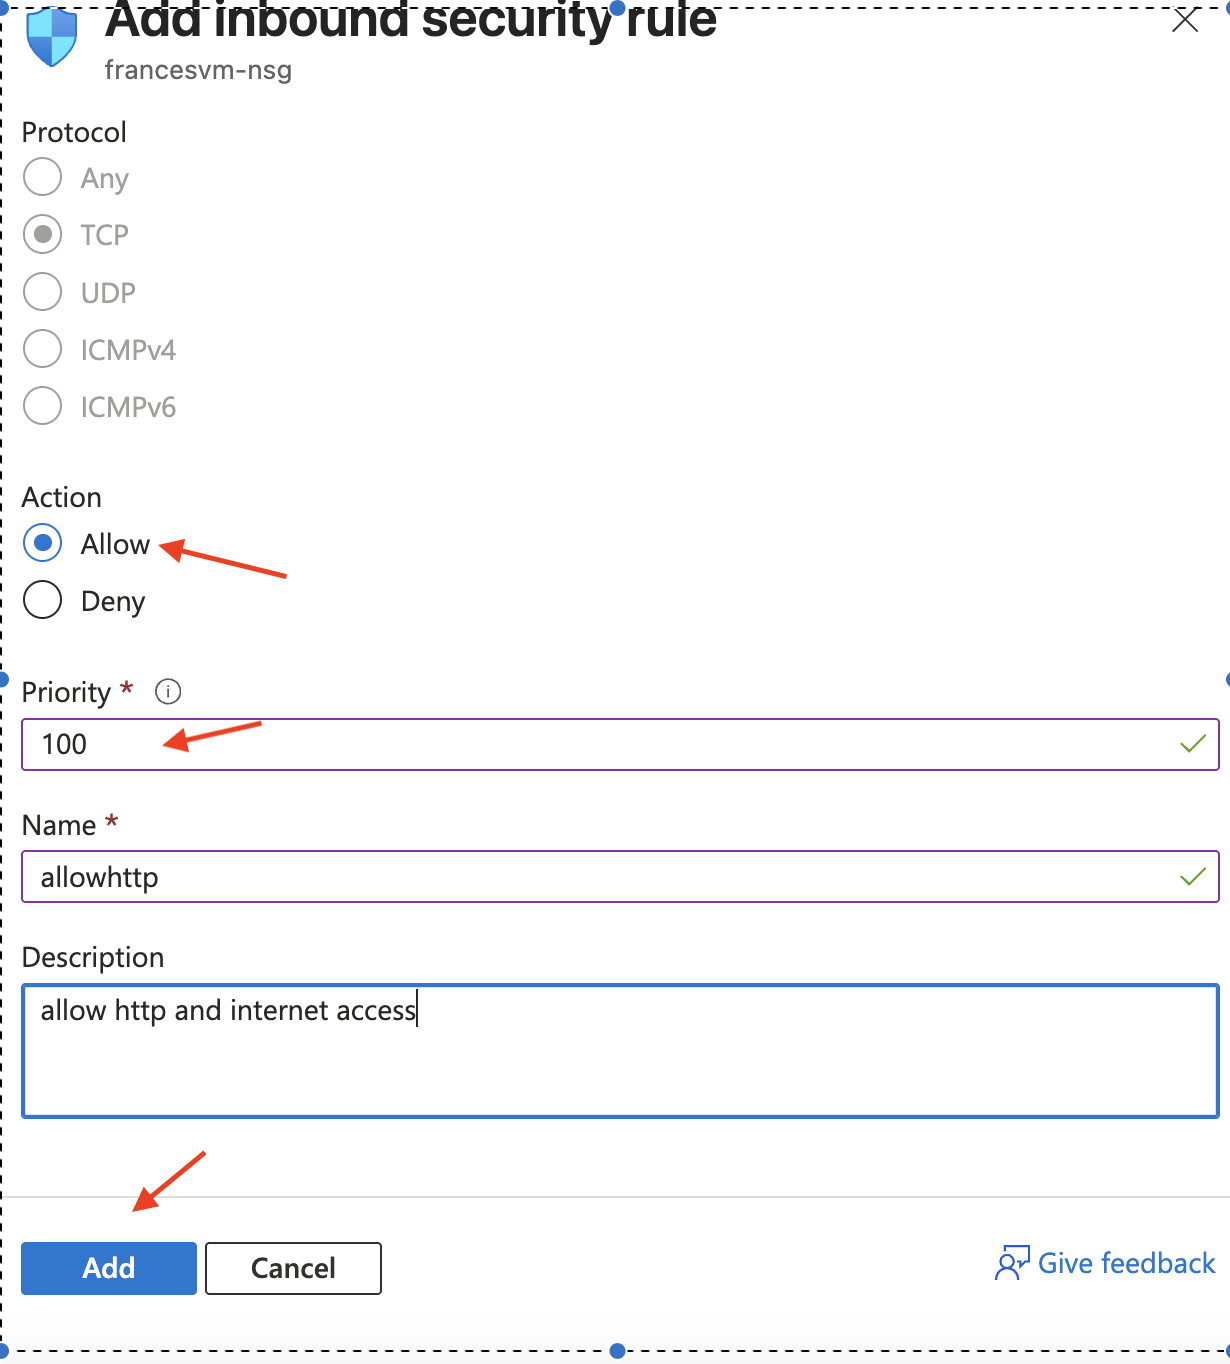
Action: you can either deny or allow but because we want to http, we choose Allow
Priority: 100. The Higher the number, the lesser the priority
You can give a name and description
Click Add
Go to your web browser
Refresh it and the apache2 default page will display
The web browser is now installed